
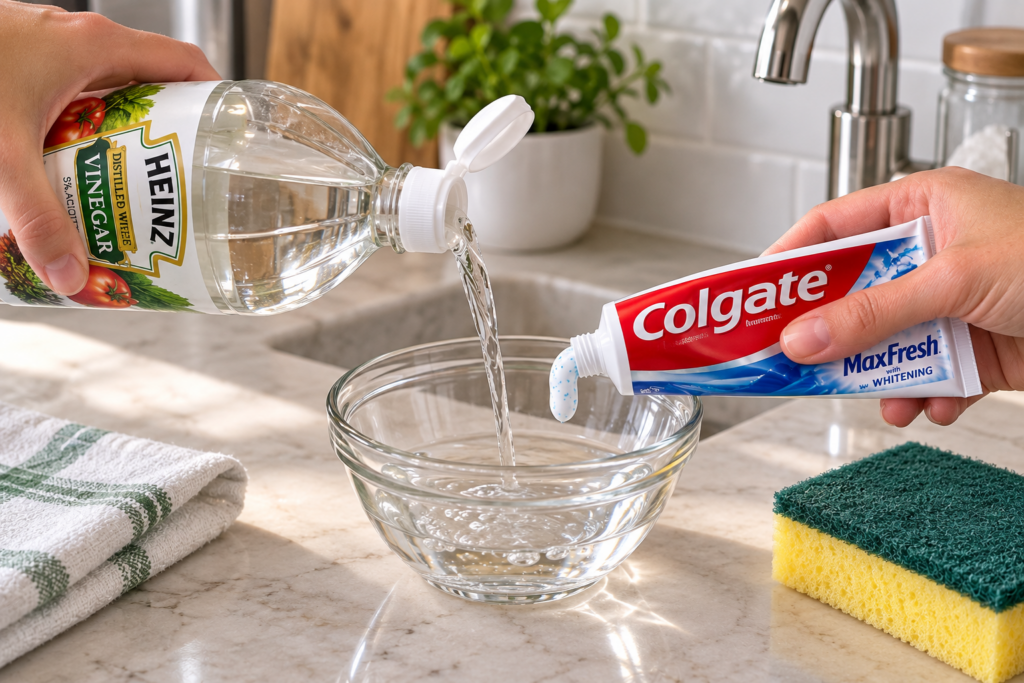
🧽 Why More and More People Are Combining Vinegar and Toothpaste
Limescale stains on fixtures, soap scum in the shower, and water spots can gradually build up until a quick wipe no longer seems enough. Many people immediately reach for aggressive specialty cleaners, even though a sensible, mild DIY approach can help with routine maintenance.
The combination of vinegar and a small amount of white toothpaste may help loosen light limescale deposits and remove superficial marks on compatible surfaces. However, the core cleaning action comes from the acetic acid in the vinegar, while the toothpaste acts merely as a mild mechanical aid.
🧪 The Recipe
You will need:
- 🥛 150 ml household vinegar
- 🪥 ½ tablespoon white toothpaste
- 🥣 A small mixing bowl and a soft sponge or cloth
👩🍳 Preparation:
- Pour the vinegar into the small bowl.
- Add the toothpaste.
- Mix everything thoroughly until well blended.
- Prepare only small quantities fresh as needed, rather than storing large batches.
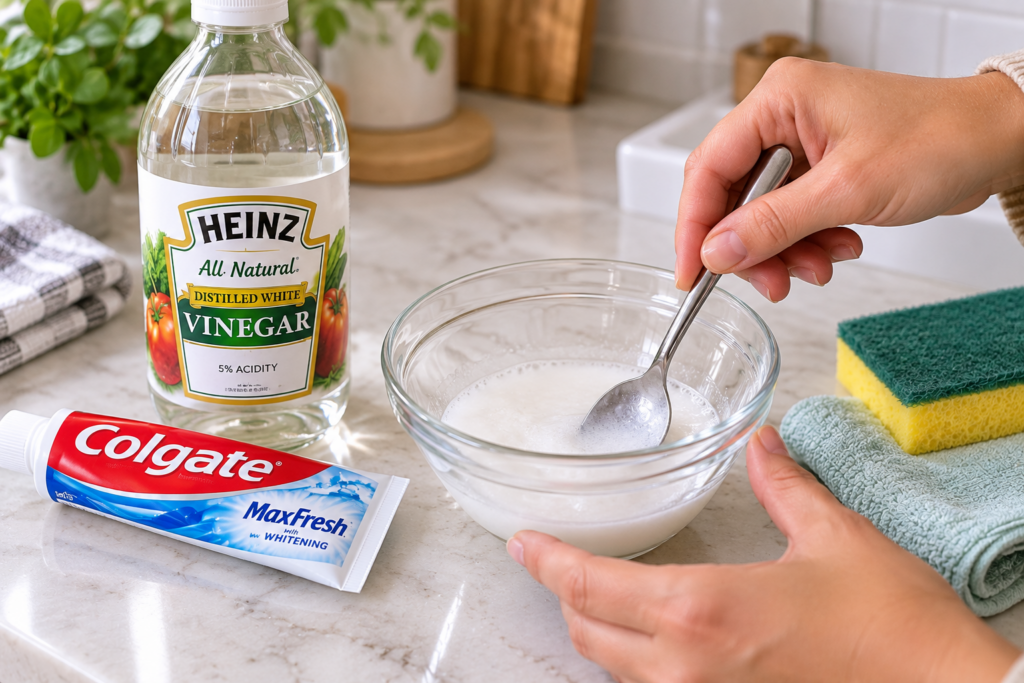
🔬 Why Does This Mixture Work?
Understanding what each ingredient actually does helps set realistic expectations:
- 🥛 Vinegar: Contains acetic acid, which helps break down mineral deposits and loosen light limescale on compatible surfaces. Vinegar has been used for basic household wiping for decades.
- 🪥 Toothpaste: Depending on the formula, toothpaste contains mild abrasives that may help remove superficial marks, but it should be tested first because finishes vary. It is not a heavy-duty degreaser or a miracle descaler.
🚰 1. Cleaning Kitchen Fixtures and Sinks
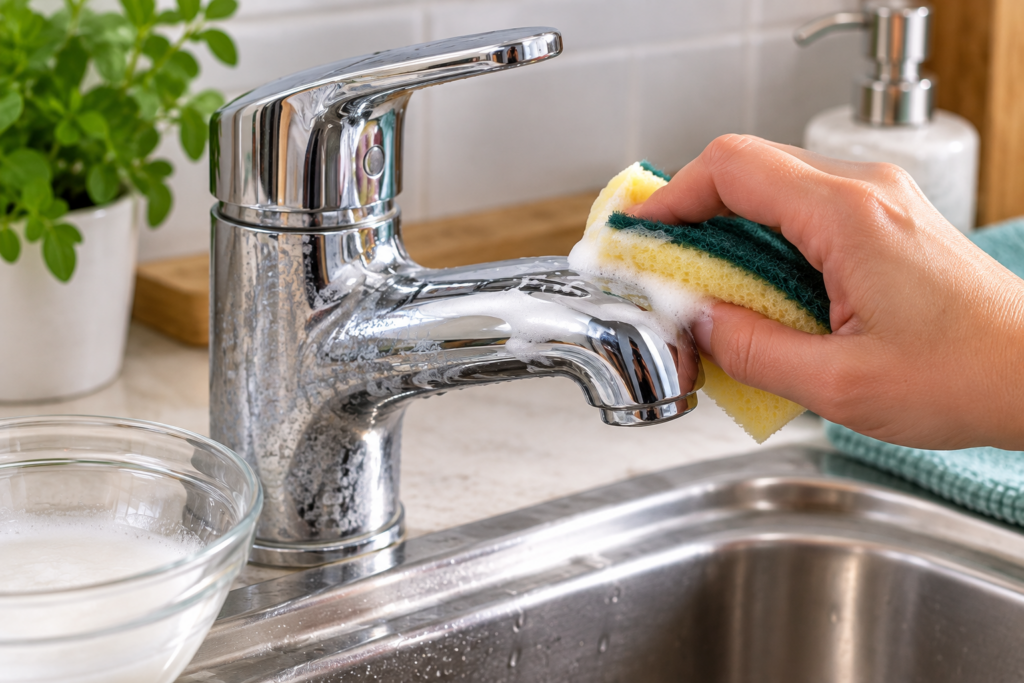
Stainless steel sinks can accumulate water spots and light film over time.
- Application: Apply the cleaner lightly with a sponge → let it sit for a few minutes (avoid leaving acids for extended, unmonitored periods) → clean gently → rinse thoroughly with clear water → buff dry.
- For stubborn spots: Use a targeted method appropriate for your specific surface rather than letting acidic solutions soak indefinitely.
🚿 2. Shower and Tiles
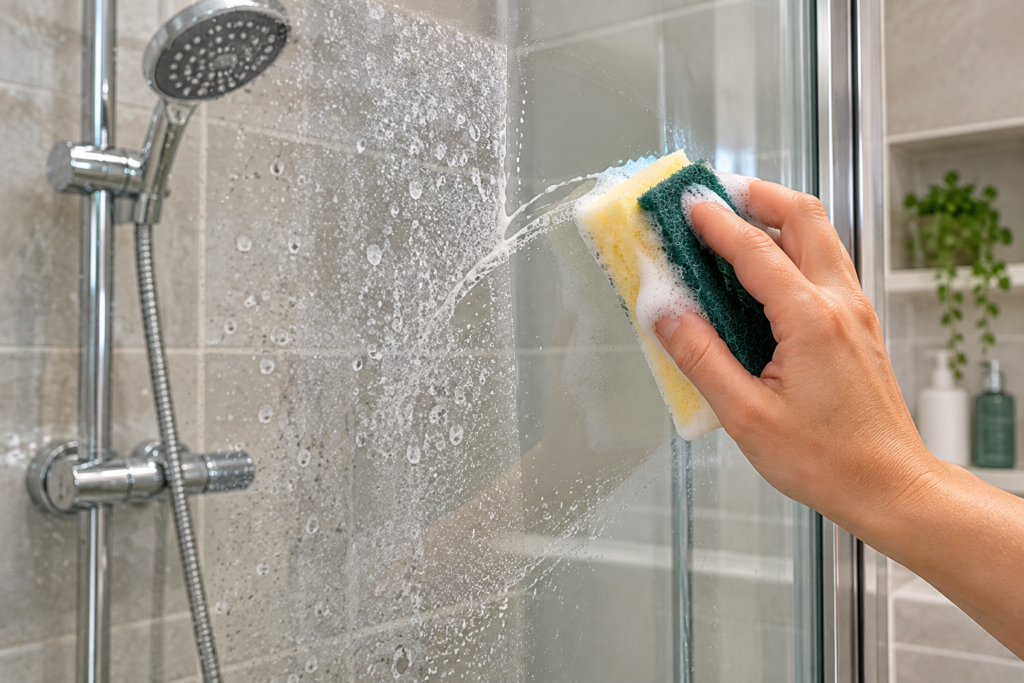
Soap scum and light mineral spots often settle on tile walls.
- Application: Apply with a sponge → let sit briefly → clean with a soft sponge → rinse with water → squeegee dry.
🚽 3. Toilet
The mixture can be used for light mineral rings inside the bowl.
- Application: Apply to the interior → let sit for a short period → scrub with the toilet brush → flush.
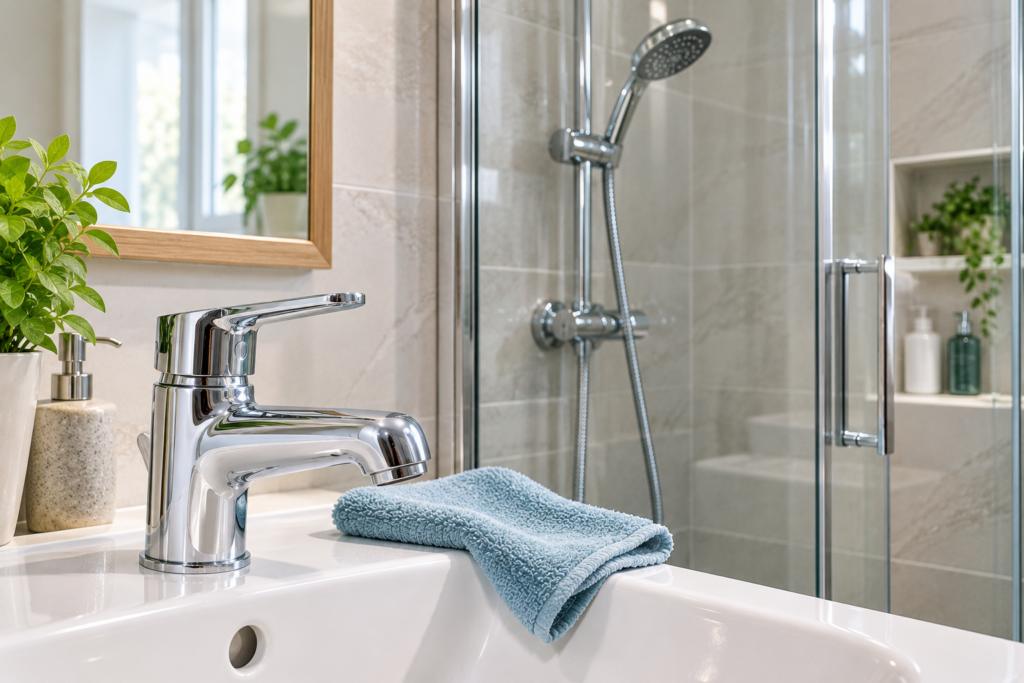
🚿 4. Making Faucets Shine Again
Chrome fixtures benefit from careful wiping.
- Application: Apply gently, wipe clean immediately, and polish with a dry microfiber cloth afterward to minimize water spots. Avoid letting acidic solutions sit on sensitive chrome finishes for too long.
🧴 5. Descaling Showerheads
For removable showerheads, soaking is often more effective than surface application.
- Application: If the manufacturer permits vinegar, soak the removable parts according to its cleaning guidance, then rinse thoroughly before reattaching.
🪞 6. Glass Surfaces in the Bathroom
Glass shower walls can collect water spots. Do not let acidic mixtures dry onto glass surfaces. Wipe them down promptly with a microfiber cloth.
🌿 Natural Alternatives
Depending on the specific cleaning task, other options may be more appropriate:
- 🍋 Citric Acid: Often preferred for specific descaling tasks like kettles or coffee machines (always check manufacturer guidelines and avoid natural stone).
- 🌱 Baking Soda: Useful for addressing certain household odors in areas like drains or refrigerators.
- 🍋 Pure Vinegar: For straightforward limescale, plain vinegar alone is often sufficient and avoids any residue from toothpaste additives.
- 🧼 Mild Soap: Better suited for general kitchen grease and countertop maintenance.
❌ Where Should This Mixture NOT Be Used?
Do not use on:
- Marble
- Granite or engineered stone unless the manufacturer specifically permits acidic cleaners
- Natural stone
- Travertine
- Aluminum
- Waxed wood
- Delicate paints
The acid content can etch or damage these sensitive materials.
⚠️ Safety Instructions
- Never mix vinegar or other cleaners with chlorine bleach.
- Wear household gloves.
- Always test the mixture on an inconspicuous spot before the first application.
- Keep out of reach of children.
- Avoid contact with eyes.
💚 Benefits of This DIY Approach
- ✅ Inexpensive ingredients
- ✅ Quick to prepare
- ✅ Helps with light mineral films and water spots
- ✅ Leaves a fresh scent
- ✅ Versatile for basic bathroom upkeep
📅 How Often Should It Be Used?
Rather than applying acidic mixtures frequently—which can wear down finishes over time—reserve this method for occasional maintenance when light buildup begins to appear.
❓ FAQ
- Does the mixture really work?Yes, primarily because the vinegar helps dissolve light limescale, while the toothpaste provides a minor polishing effect. It is not a magical cure for heavily neglected surfaces.
- Can I use any toothpaste?If you choose to use toothpaste, a simple white paste without gel or heavy scrubbing particles is best.
- Can I use apple cider vinegar?Plain household vinegar is generally preferred as it leaves fewer residues and has a less lingering scent after drying.
- How long does the mixture last?It should be prepared fresh in small quantities as needed. Avoid storing large batches for extended periods.
- Can I use this daily?No. Frequent or daily application of acidic solutions can dull or damage surface finishes over time. Use it selectively.
- Can I use it on all kitchen surfaces?It may be suitable for some stainless-steel sinks and fixtures when their manufacturer permits mild acidic and abrasive cleaners. Surfaces that come into direct contact with food should always be rinsed thoroughly with clear water afterward.
🏡 Conclusion
The combination of vinegar and a touch of toothpaste offers a simple, mild DIY approach for managing light water spots and minor mineral films on compatible surfaces. The primary chemical action comes from the vinegar, while the toothpaste provides a modest auxiliary polish. For heavy buildup, dedicated manufacturer-approved methods or specialized solutions remain the safest and most effective choice.