
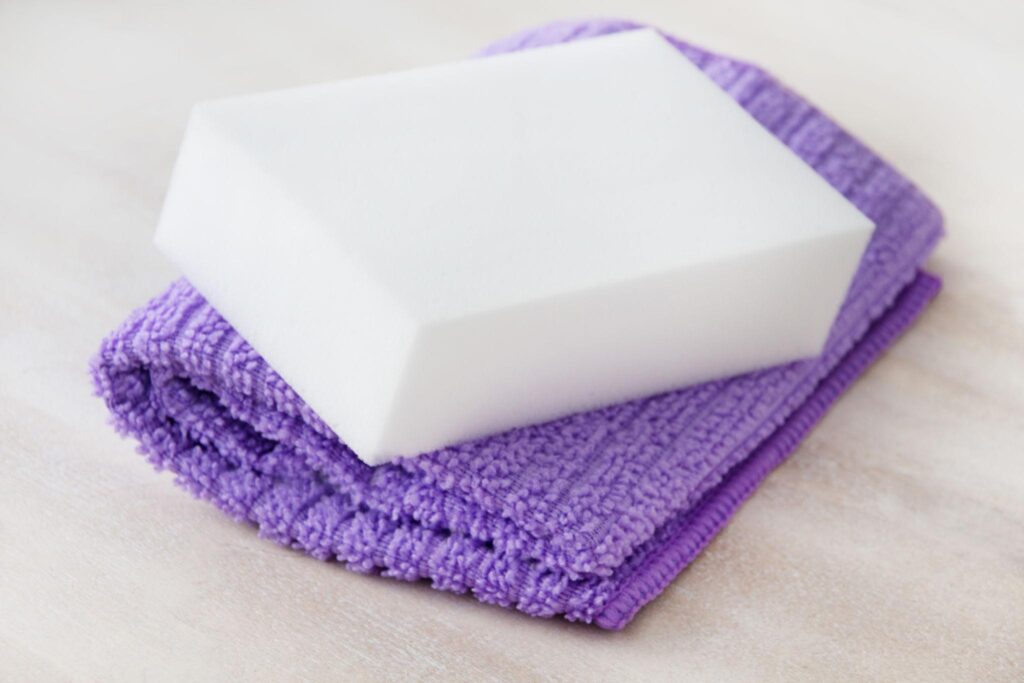
Magic Erasers have earned a reputation as one of the most impressive cleaning tools around. From stubborn scuff marks to dirty bathroom surfaces, these little white sponges can make cleaning feel almost effortless.
But here’s something many people don’t realize: a Magic Eraser can actually damage certain surfaces, even when you’re only using water.
That innocent-looking white sponge isn’t quite as gentle as it seems.
Its secret is melamine foam, a material that works like an extremely fine abrasive. It can remove stubborn marks, but it may also wear away delicate finishes, leave dull patches, or create tiny scratches.
Before you reach for your Magic Eraser again, discover these five surfaces you should avoid—and the safer cleaning methods that can help protect your home.
🧽 Why Can a Magic Eraser Damage Surfaces?
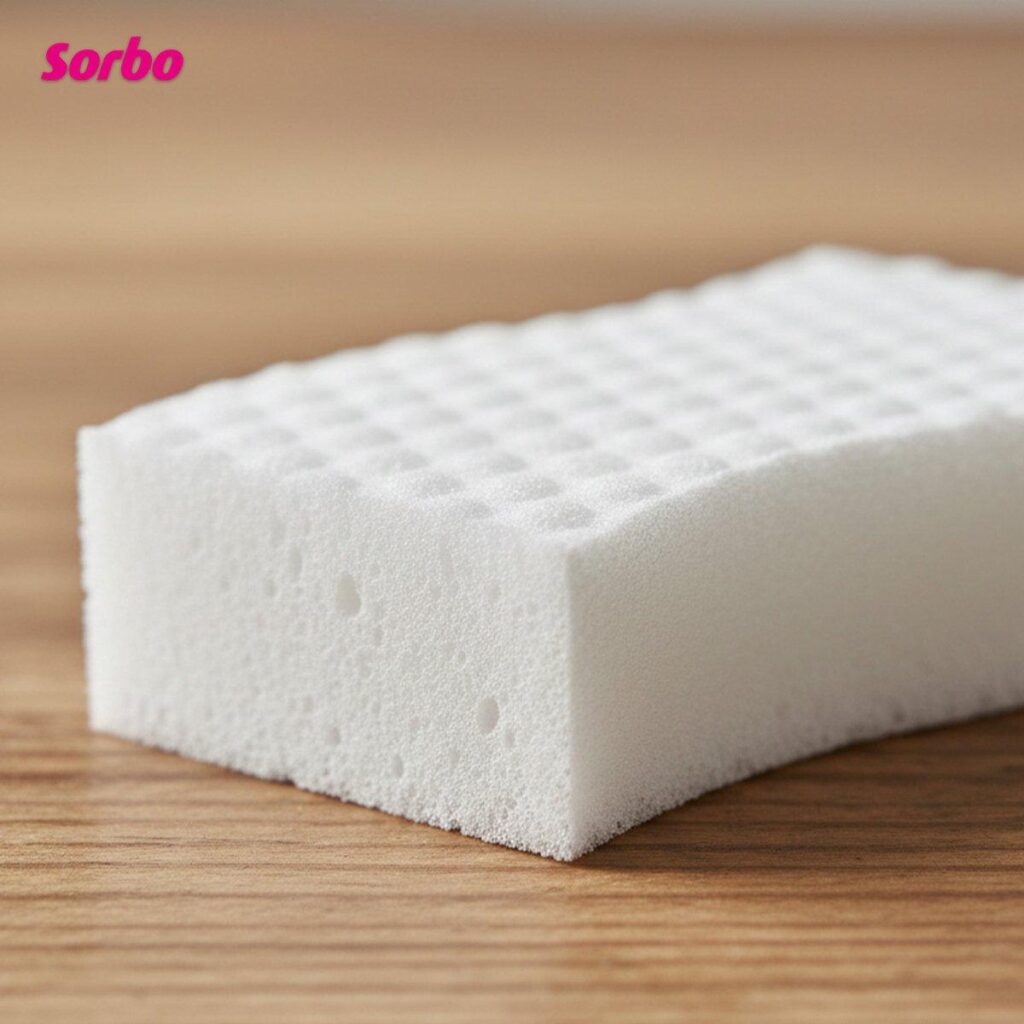
A Magic Eraser is made from melamine foam, a lightweight material with a microscopic structure that helps lift and scrub away dirt.
When dampened with water, the foam acts like a very fine abrasive.
That’s why it can be effective against certain stubborn marks that ordinary sponges struggle to remove.
However, this cleaning action comes with an important limitation.
A Magic Eraser doesn’t always distinguish between unwanted dirt and a delicate surface finish.
On some materials, repeated rubbing may gradually remove protective coatings or change the appearance of the surface.
The risk depends on the material, its finish, how much pressure you apply, and how often you clean it.
Here are five surfaces where you should choose a gentler method.
❌ 1. Glossy and High-Shine Surfaces
Why a Magic Eraser Can Be a Bad Idea
Glossy surfaces are designed to reflect light evenly, giving them a smooth, polished appearance.
Unfortunately, abrasive cleaning can disturb that smooth finish.
Using a Magic Eraser on certain glossy surfaces may create fine scratches or leave behind a dull, cloudy patch.
This can happen on:
- High-gloss kitchen cabinets
- Glossy painted furniture
- Lacquered surfaces
- Some polished countertops
- Decorative glossy finishes
The damage may not be obvious immediately, especially when the surface is still wet.
Once it dries, however, the difference in shine may become noticeable.
✅ What to Use Instead
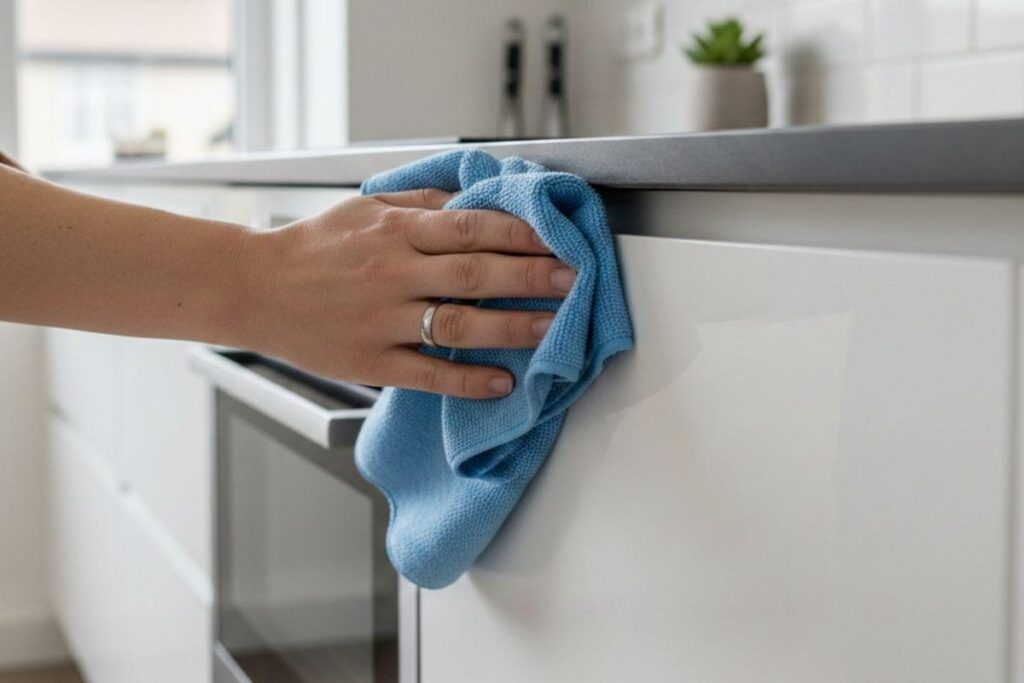
Try a gentle cleaning solution made with warm water and a small amount of mild dish soap, provided the manufacturer allows it.
How to clean safely:
- Remove loose dust with a clean microfiber cloth.
- Mix a few drops of mild dish soap into warm water.
- Lightly dampen a soft microfiber cloth.
- Wipe the surface gently without scrubbing.
- Remove any soap residue with another lightly dampened cloth.
- Dry immediately with a clean, soft cloth.
Extra tip: For delicate lacquered or specialty finishes, follow the manufacturer’s care instructions rather than assuming a household cleaner is suitable.
❌ 2. Stainless Steel Appliances
Why You Should Be Careful
Stainless steel is durable, but its appearance can still be affected by abrasive cleaning.
Many refrigerators, dishwashers, ovens, and range hoods have brushed, polished, or specially coated stainless steel finishes.
Using a Magic Eraser may create fine scratches, dull the finish, or damage a protective coating.
Even a small scratched area can become more noticeable when light reflects across the appliance.
✅ What to Use Instead
A soft microfiber cloth and a stainless steel-compatible cleaner are usually better choices.
Simple cleaning method:
- Check whether your appliance has a protective coating.
- Remove dust and loose debris.
- Apply a manufacturer-approved cleaner to a microfiber cloth.
- Wipe gently in the direction of the grain, if present.
- Remove any remaining residue.
- Buff dry with a clean microfiber cloth.
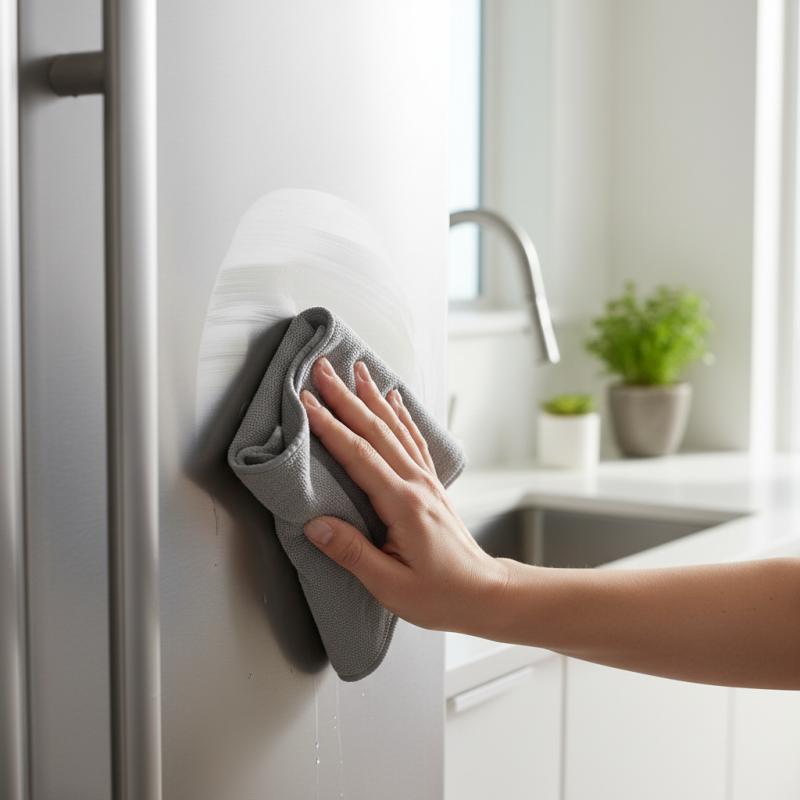
For ordinary fingerprints, a slightly damp microfiber cloth may be all you need.
Extra tip: Avoid abrasive powders, steel wool, and rough scrubbing pads unless specifically approved for the finish.
❌ 3. Nonstick Pots and Pans
Why a Magic Eraser Can Cause Problems
Nonstick cookware is designed with a special surface coating that helps prevent food from sticking.
Although these coatings are made to withstand normal cooking and washing, abrasive cleaning can gradually damage them.
A Magic Eraser may wear or scratch the coating, particularly if used with heavy pressure.
Once the coating is compromised, food may begin sticking more easily, and the cookware can become harder to clean.
✅ What to Use Instead
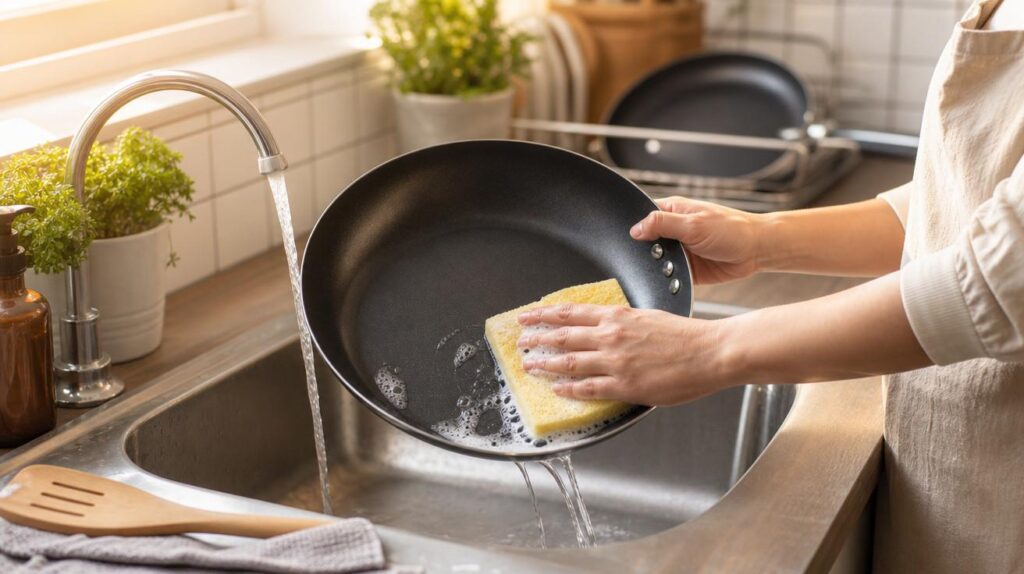
For most nonstick cookware, gentle cleaning is the safest approach.
How to remove stubborn food residue:
- Allow the pan to cool completely.
- Fill it with warm water and a little dish soap.
- Let it soak briefly to loosen stuck-on food.
- Clean gently with a soft sponge or cloth.
- Rinse thoroughly.
- Dry with a soft towel.
If food remains stuck, repeat the soaking process rather than scrubbing aggressively.
Extra tip: Avoid sudden temperature changes, which can damage some cookware. Always follow the manufacturer’s cleaning instructions.
❌ 4. Varnished or Polished Wooden Furniture
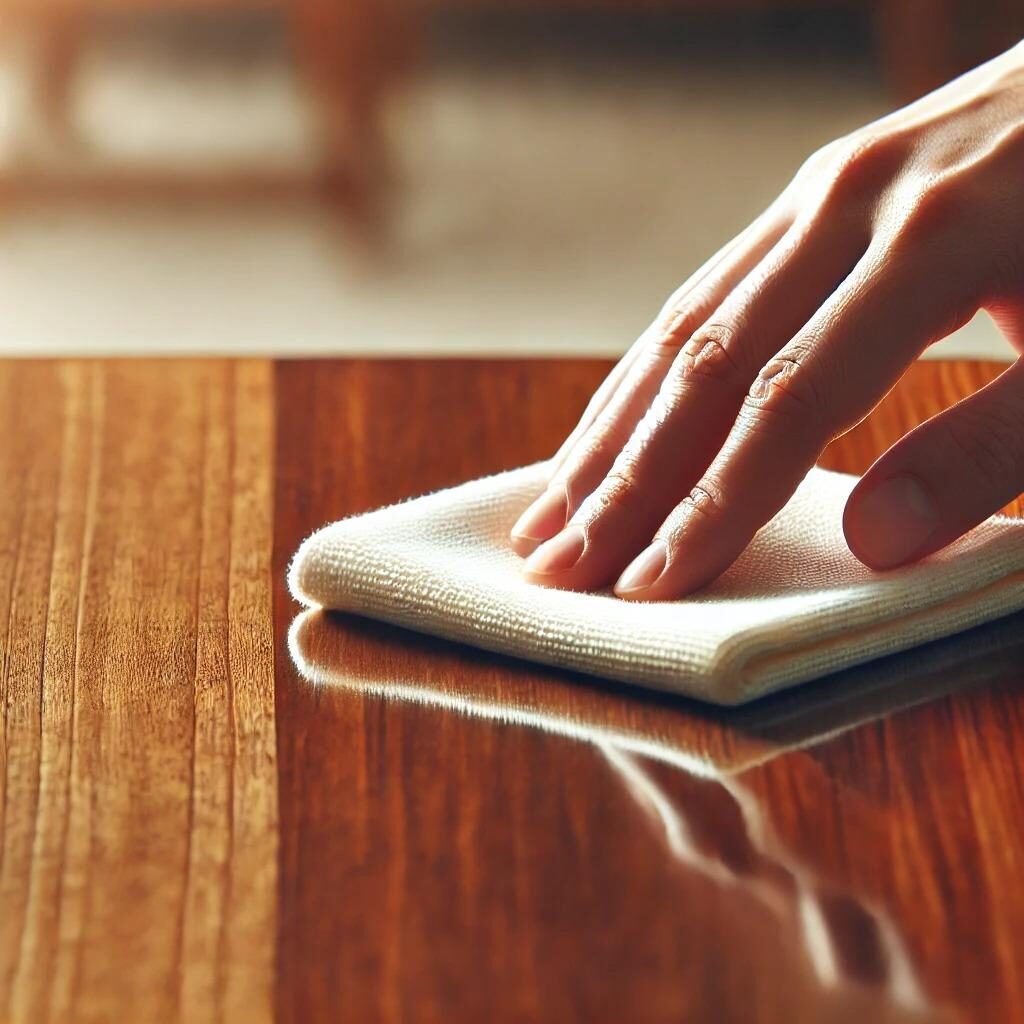
Why You Should Avoid It
Wooden furniture often has a protective finish that enhances its appearance and helps protect the underlying material.
Depending on the piece, this finish may be varnish, lacquer, polyurethane, oil, wax, or another treatment.
A Magic Eraser can wear away some finishes, particularly when used repeatedly or with pressure.
Possible results include:
- Dull or uneven patches
- Changes in surface sheen
- Fine scratches
- Loss of protective finish
- Greater vulnerability to moisture
A mark that initially looks like dirt may actually be a change in the finish itself.
✅ What to Use Instead
Start with the gentlest cleaning method appropriate for the furniture’s finish.
How to clean finished wood safely:
- Dust with a soft, dry microfiber cloth.
- Check the furniture manufacturer’s cleaning recommendations.
- If permitted, use a cloth barely dampened with water or an approved wood cleaner.
- Wipe gently along the grain.
- Remove any remaining moisture immediately.
- Dry with a clean cloth.
For sticky marks, use a product specifically suitable for the furniture’s finish.
Extra tip: Avoid saturating wooden surfaces with water, especially near joints, edges, or damaged finishes.
❌ 5. Car Paint and Clear Coats
Why This Is One of the Riskiest Uses
A Magic Eraser might seem like a convenient way to remove stubborn marks from your car.
However, automotive paint typically has a clear coat designed to protect the color underneath and provide a smooth, glossy finish.
Because melamine foam is abrasive, scrubbing painted body panels may create fine scratches or dull the clear coat.
This is especially risky when trying to remove:
- Bug residue
- Road grime
- Scuff marks
- Tree sap
- Adhesive residue
Even if the mark disappears, the cleaned area may look different from the surrounding paint.
✅ What to Use Instead
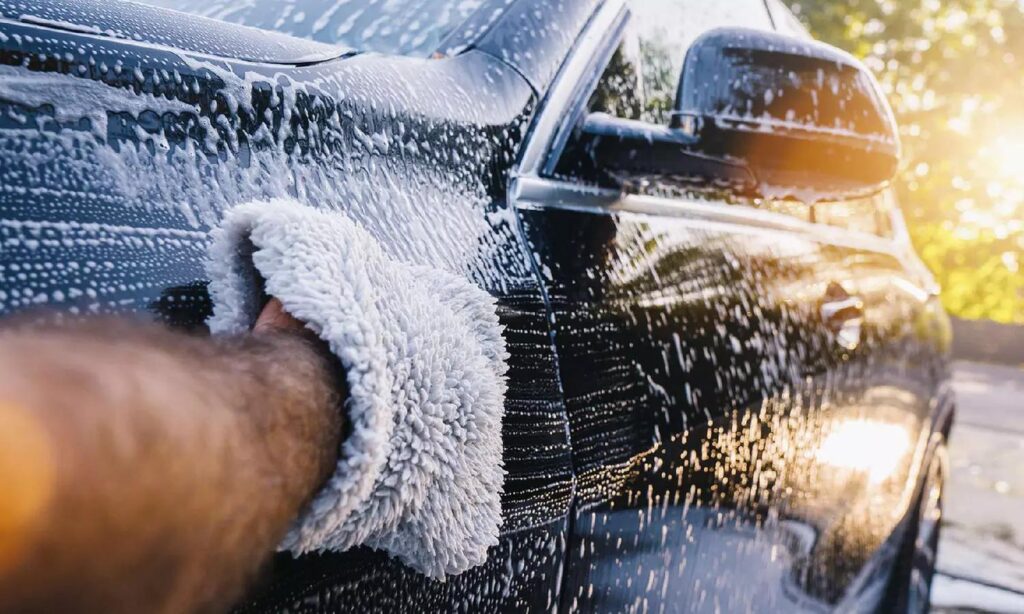
Use products specifically formulated for automotive finishes.
Safer cleaning method:
- Rinse the area to remove loose dirt.
- Use a suitable automotive shampoo and a clean wash mitt.
- Gently wash the affected area.
- For stubborn contamination, choose a paint-safe product designed for that particular residue.
- Rinse thoroughly.
- Dry with a clean automotive microfiber towel.
For persistent marks or suspected paint damage, consult a professional detailer.
Extra tip: Never scrub dry dirt across painted body panels. Loose particles can cause scratches even when using a soft cloth.
⚠️ 5 More Places Where You Should Be Extra Careful
Beyond the five surfaces above, Magic Erasers also require caution on several other household materials.
1. Painted Walls
Magic Erasers can remove certain scuff marks, but they may also remove paint or change its sheen.
Flat and matte paints can be particularly vulnerable.
Always test a hidden spot and use minimal pressure.
2. Natural Stone Countertops
Polished marble, limestone, and some other natural stone finishes may be dulled by abrasive scrubbing.
Use a cleaner specifically approved for the stone and its sealant.
3. Electronic Screens
Televisions, laptops, phones, and tablets may have delicate coatings.
A Magic Eraser can damage these surfaces.
Use a screen-safe microfiber cloth and follow the device manufacturer’s cleaning instructions.
4. Acrylic and Certain Plastic Surfaces
Some plastics scratch easily.
A Magic Eraser may leave visible marks or cloudiness, particularly on transparent or glossy plastic.
5. Leather Furniture
Leather can have protective coatings, dyes, and surface treatments.
A Magic Eraser may remove color or damage the finish.
Use an appropriate leather cleaner instead.
✨ Where Can a Magic Eraser Be Useful?
Magic Erasers aren’t necessarily bad cleaning tools.
They can be useful when the surface is compatible with mild abrasion.
Examples may include:
Certain ceramic tiles: Helpful for some stubborn marks, provided the finish is compatible.
Some durable bathroom surfaces: Can remove certain scuffs or residue, but check the manufacturer’s guidance first.
Selected shoe soles: May help clean marks on some rubber or synthetic soles, though painted or delicate finishes can be damaged.
Certain hard, uncoated surfaces: May be suitable for removing scuffs when the material tolerates abrasion.
Always test a small, hidden area first.
Avoid assuming that a surface is safe simply because it feels hard.
🧼 How to Use a Magic Eraser More Safely
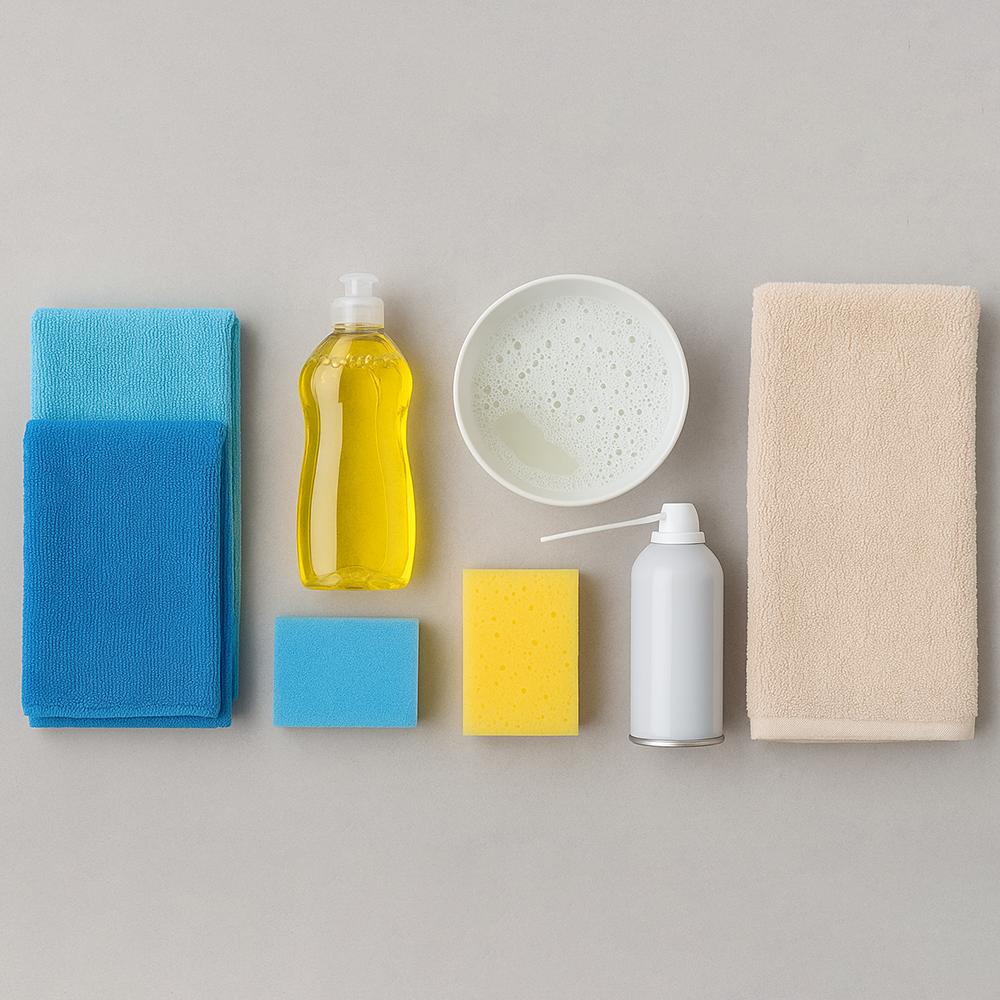
If you decide to use a Magic Eraser on a compatible surface, a few simple precautions can reduce the risk of damage.
Step 1: Read the Product Instructions
Different melamine foam products may have different usage recommendations.
Check the packaging before cleaning.
Step 2: Test a Hidden Area
Choose an inconspicuous spot and look for any change in color, texture, or shine.
Step 3: Dampen the Sponge
Follow the product directions. Many standard melamine foam sponges are designed to be used damp.
Step 4: Apply Gentle Pressure
Avoid aggressive scrubbing.
Start with the lightest possible pressure and stop if the surface appearance changes.
Step 5: Wipe Away Residue
Remove loosened dirt and any remaining foam particles with a clean, damp cloth when appropriate for the surface.
Step 6: Keep It Away From Skin
Do not use a Magic Eraser to clean skin, teeth, or pets.
Its abrasive structure can cause irritation or injury.
🌿 A Simple Rule That Can Save Your Surfaces
Before using a Magic Eraser, ask yourself:
“Am I cleaning a durable material—or am I rubbing against a delicate finish?”
This question matters because many household surfaces have protective coatings that aren’t immediately visible.
A refrigerator may have a fingerprint-resistant coating.
A wooden table may have a thin layer of varnish.
A car’s paint may be protected by a clear coat.
And a glossy cabinet may have a finish that becomes dull when rubbed with an abrasive sponge.
The safest cleaning tool isn’t always the one that removes a stain the fastest.
Sometimes, a soft microfiber cloth and a compatible cleaner are the better choice.
❓ Frequently Asked Questions
Are Magic Erasers abrasive?
Yes. Standard Magic Erasers are made from melamine foam, which cleans partly through fine physical abrasion.
Can a Magic Eraser scratch stainless steel?
Yes. It can leave fine scratches or damage certain stainless steel finishes, particularly polished or coated surfaces.
Is a Magic Eraser safe for painted walls?
It depends on the paint and finish. Some marks can be removed, but the sponge may also remove paint or leave a shiny or dull patch.
Can I use a Magic Eraser on glass?
Some glass surfaces may tolerate careful cleaning, but abrasive use can be unsuitable for coated, tinted, decorative, or otherwise delicate glass. Follow the manufacturer’s recommendations.
Can I use a Magic Eraser on a nonstick pan?
It’s best to avoid it. Use warm soapy water and a soft sponge to protect the coating.
Does a Magic Eraser contain bleach?
Standard Magic Eraser Original products do not rely on bleach for their cleaning action. However, formulations vary, so check the packaging of the specific product.
Can a Magic Eraser damage car paint?
Yes. Its abrasive action can dull or scratch automotive clear coats. Use automotive-safe cleaning products instead.
Is a Magic Eraser safe for kitchen countertops?
That depends on the countertop material and finish. Avoid using it on delicate or polished surfaces unless the manufacturer specifically approves it.
Can a Magic Eraser remove scratches?
It may remove surface marks that resemble scratches, but it does not truly repair damaged material. Its abrasive action can also create additional scratches.
What is the safest alternative to a Magic Eraser?
For many routine household cleaning jobs, a soft microfiber cloth and a mild, surface-compatible cleaner are a good starting point.
Final Thoughts: A Powerful Cleaning Tool Isn’t Always a Gentle One
Magic Erasers can be surprisingly effective, but they’re not suitable for every cleaning job.
The five surfaces to be especially careful with are glossy finishes, stainless steel appliances, nonstick cookware, finished wood, and automotive paint.
In many cases, the problem isn’t the sponge itself—it’s using an abrasive cleaning method on a surface that needs gentle care.
Before tackling a stubborn mark, identify the material, check its cleaning instructions, and choose the least abrasive method likely to work.
The next time you reach for a Magic Eraser, remember: removing the stain shouldn’t mean removing the finish.