
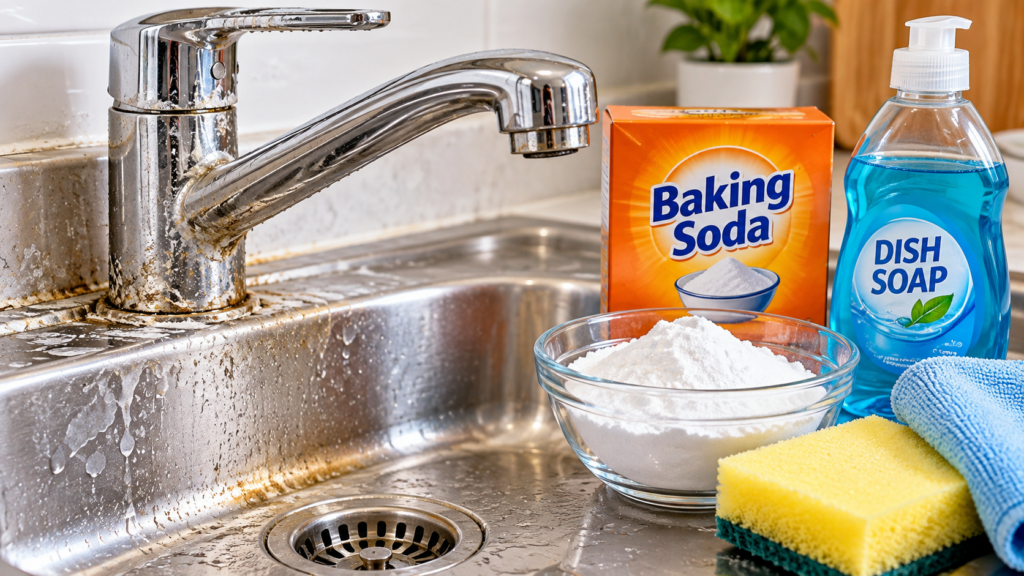
Your sink may look clean at first glance, but take a closer look around the faucet, drain, and edges. Water spots, soap residue, grease, toothpaste, and everyday grime can gradually create a dull-looking film.
Fortunately, you don’t always need an aggressive cleaner. A simple paste made primarily from baking soda and dish soap can help loosen stubborn residue on many compatible sink surfaces.
And for certain stains, 3% hydrogen peroxide can be used as an optional addition—with a few important precautions.
🧽 Why Does Buildup Form Around the Sink?
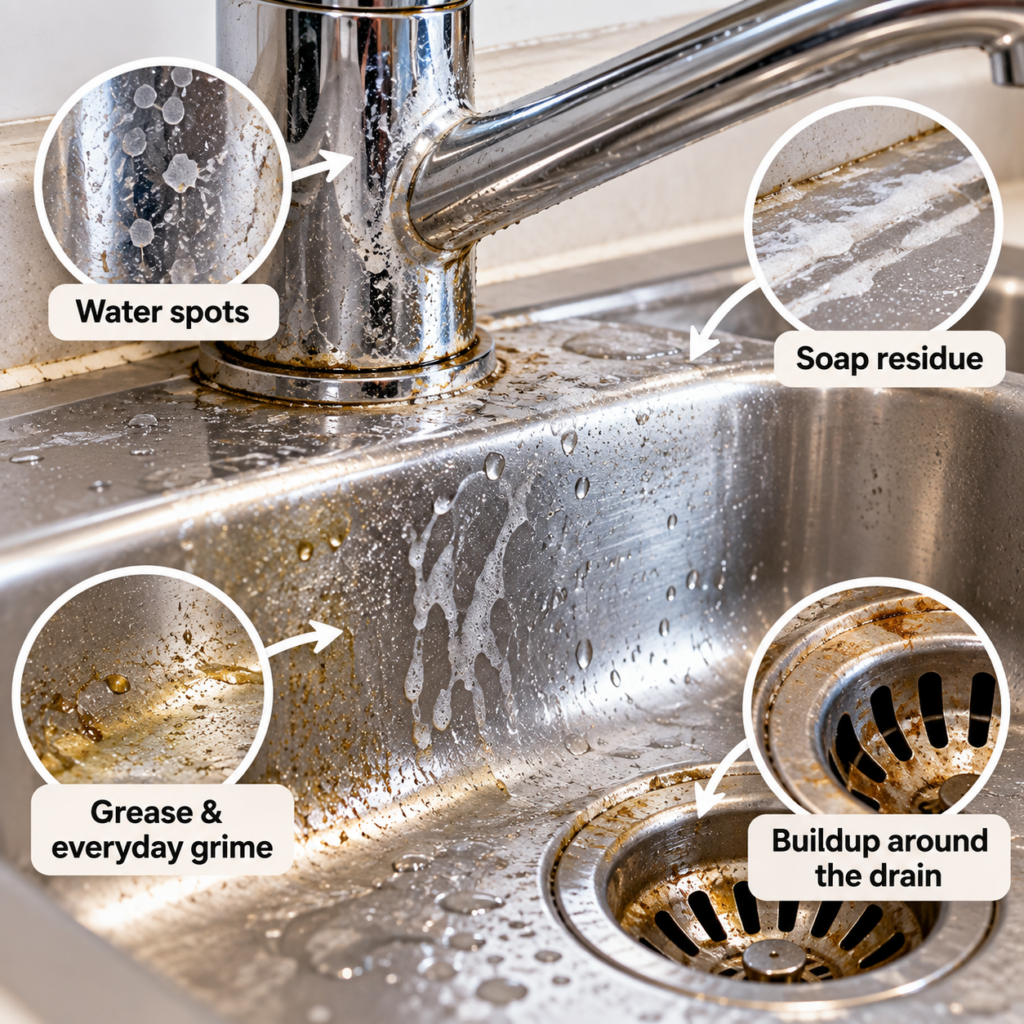
Kitchen and bathroom sinks are constantly exposed to water and different types of residue.
In the kitchen, you may find:
- Grease and food residue
- Dish soap buildup
- Water spots
- Dirt around the faucet
- Grime around the drain and sink edges
Bathroom sinks can collect:
- Soap residue
- Toothpaste
- Cosmetics
- Skin oils
- Water spots
Over time, these layers can make an otherwise clean sink appear dull or dirty.
🥣 The Simple Baking Soda + Dish Soap Paste
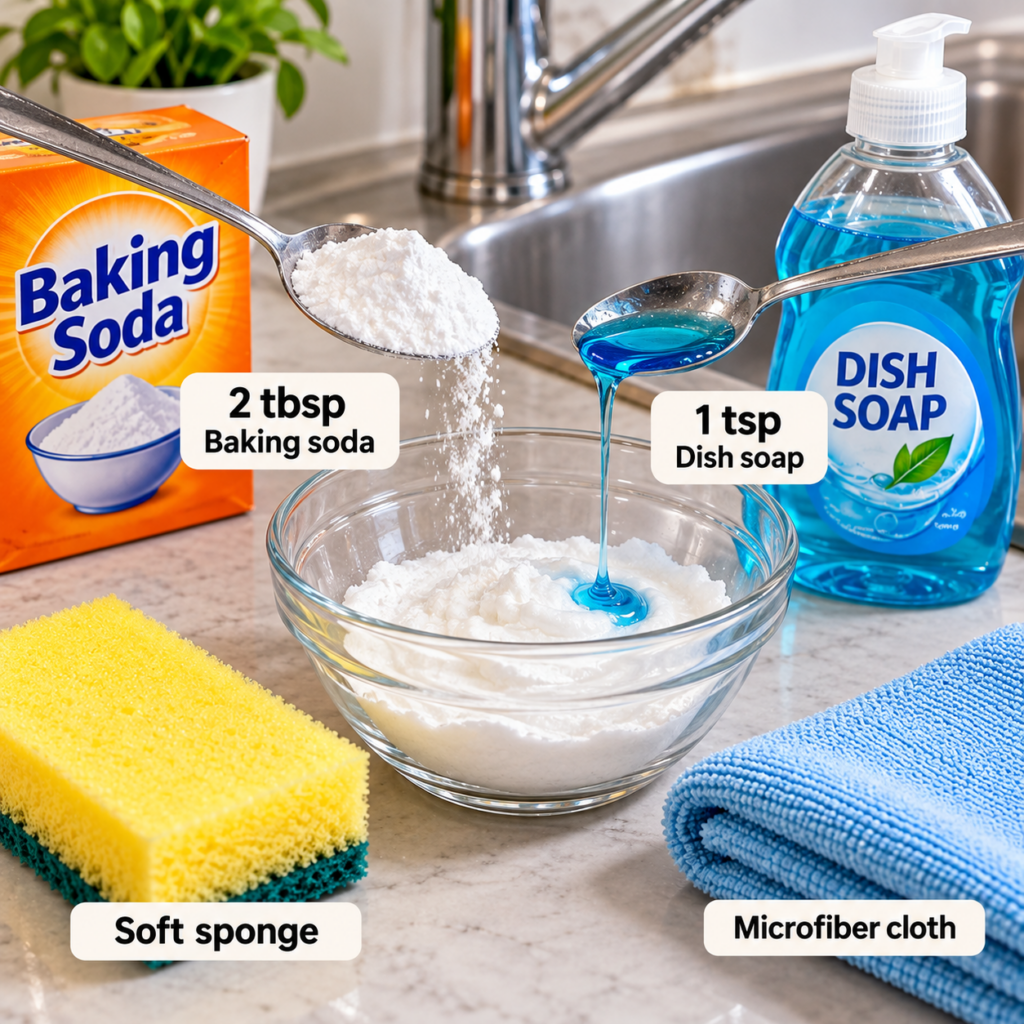
For routine cleaning, start with the simplest version.
What you’ll need:
- 2 tablespoons baking soda
- 1 teaspoon dish soap
- A few drops of water, if needed
- A soft sponge or microfiber cloth
- Clean water for rinsing
- A dry microfiber cloth
The goal is to create a soft, spreadable paste, not a dry abrasive mixture.
🧴 How to Make It
Place the baking soda in a small bowl.
Add the dish soap and mix gently. If the paste is too thick, add a few drops of water at a time until you reach an easy-to-spread consistency.
There’s no need to make a large quantity. A small fresh batch is usually enough for one sink.
🧼 How to Clean Your Sink
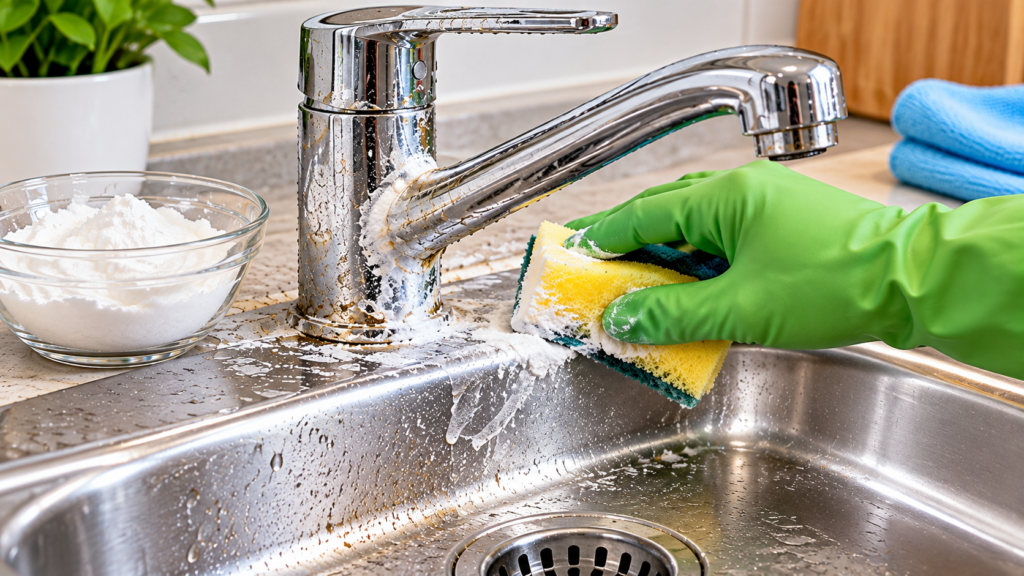
Before starting, check the manufacturer’s cleaning recommendations for your sink or countertop and test the mixture on a small, inconspicuous area.
Then:
- Remove loose debris. Rinse away crumbs, hair, or other loose dirt.
- Apply a small amount of paste to the dirty areas.
- Gently work it over the surface with a soft damp sponge or microfiber cloth. Avoid aggressive scrubbing.
- Pay particular attention to buildup around the faucet base, drain and sink edges.
- Rinse thoroughly with clean water.
- Finish by drying the surface with a clean microfiber cloth.
Drying is an important final step because it helps prevent new visible water spots from forming as water evaporates.
✨ What Does Each Ingredient Actually Do?
This isn’t a magical chemical reaction. The ingredients simply contribute different cleaning properties.
🧂 Baking Soda
Baking soda provides mild abrasive action that can help loosen some stuck-on residue.
Because it is abrasive, however, it should still be used gently. Delicate, polished or specially coated surfaces may scratch or become dull.
🧴 Dish Soap
Dish soap contains surfactants designed to help loosen grease, oils and everyday dirt so they can be rinsed away with water.
This makes it particularly useful around kitchen sinks.
🧪 What About Hydrogen Peroxide?
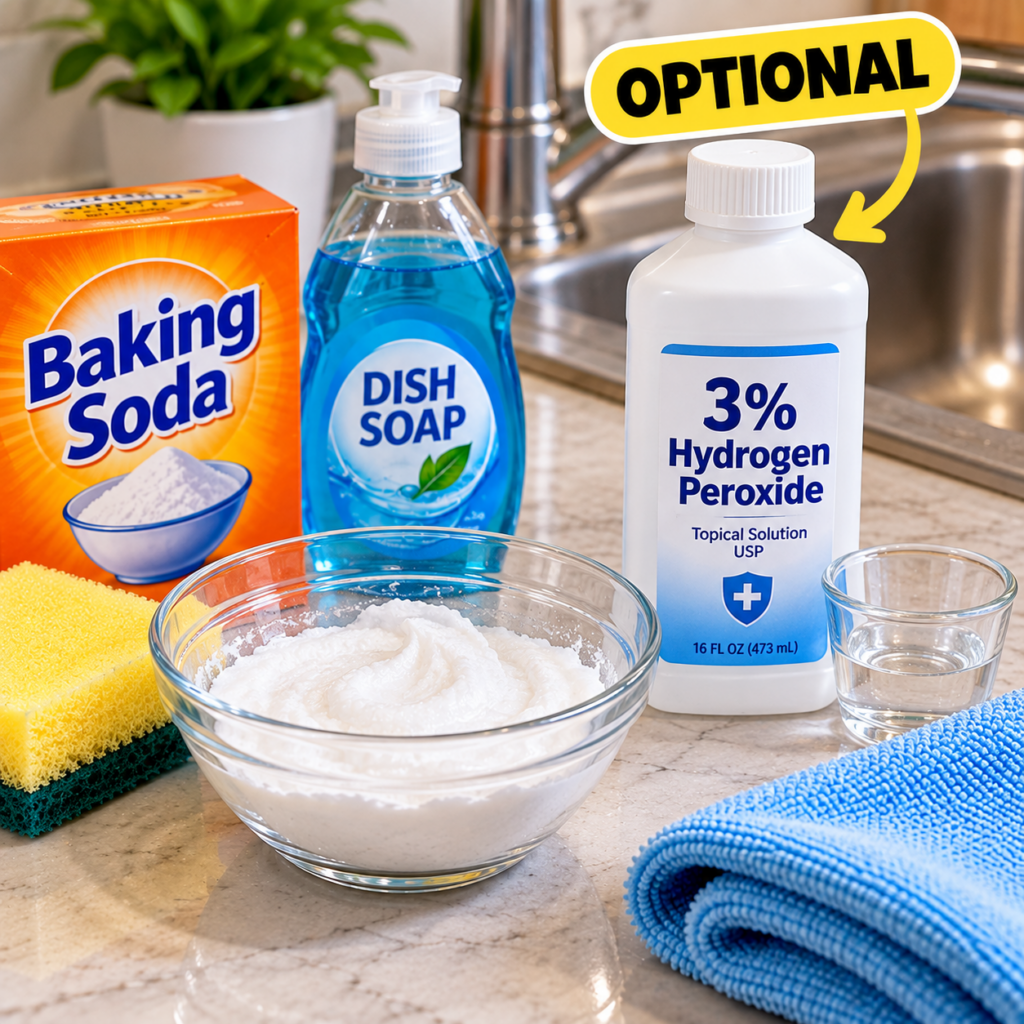
You may see versions of this cleaning trick that combine baking soda, dish soap and hydrogen peroxide.
Hydrogen peroxide isn’t necessary for ordinary sink cleaning.
However, standard household 3% hydrogen peroxide may be useful for certain stains on compatible surfaces.
Instead of automatically adding it every time, treat it as an optional step.
For a small cleaning batch, you could add approximately 1 teaspoon of 3% hydrogen peroxide to the baking soda and dish soap paste and prepare only what you intend to use immediately.
Wear household gloves, provide ventilation, and rinse the cleaned surface thoroughly afterward.
⚠️ Important Hydrogen Peroxide Safety
Hydrogen peroxide deserves more care than ordinary dish soap.
Never mix hydrogen peroxide with chlorine bleach or other household cleaners.
Also avoid experimenting by combining hydrogen peroxide with vinegar or other acids in the same container.
Keep hydrogen peroxide away from your eyes, store it in its original container, and keep it out of reach of children and pets.
If you’re uncertain whether your sink material tolerates hydrogen peroxide, skip it. Baking soda and dish soap are the core of this cleaning method.
🚰 Will This Remove Limescale?
This is an important distinction.
The whitish deposits around faucets are often caused by minerals left behind by hard water. Baking soda and dish soap can clean surrounding grime, but they are not necessarily the best solution for true mineral scale.
For significant limescale, use a cleaner specifically compatible with your sink or faucet material and follow the manufacturer’s instructions.
Don’t simply make the baking soda paste more abrasive or scrub harder.
🏠 Where Can You Use This Cleaning Paste?
Depending on manufacturer recommendations, the basic baking soda-and-dish-soap paste may be useful for many ordinary sink-cleaning jobs, including:
Stainless-steel sinks: It can help with greasy films and everyday grime, but always rub gently and follow the direction of the grain where applicable.
Ceramic or porcelain sinks: It may help remove soap residue and ordinary surface dirt, provided the finish is compatible.
Around faucets: A soft cloth with a small amount of paste can help clean grime around the base, but be particularly careful with plated, painted or coated fixtures.
Around drains: The paste can help loosen the visible grime that accumulates around the drain opening.
❌ Where Should You Be Careful?
Don’t assume that because the ingredients are common household products, they’re suitable for every surface.
Use extra caution—or choose a manufacturer-approved cleaner instead—on:
- Natural stone such as marble
- Highly polished surfaces
- Acrylic or other easily scratched materials
- Special sink coatings
- Painted or lacquered fixtures
- Gold, brass or other decorative finishes
- Damaged or deteriorating surfaces
Always check the care instructions for your particular surface.
💡 5 Tips for Better Results
1. Start with the mildest method.
Try dish soap and water first. Move to the baking soda paste only when ordinary cleaning isn’t enough.
2. Don’t scrub aggressively.
More pressure doesn’t necessarily mean better cleaning and may damage delicate finishes.
3. Work in small areas.
This gives you better control and makes rinsing easier.
4. Rinse thoroughly.
You don’t want baking soda or detergent residue left behind.
5. Dry the sink afterward.
A clean microfiber cloth can make a surprisingly big difference to the finished appearance.
❓ Frequently Asked Questions
Can I use baking soda and dish soap on a stainless-steel sink?
Often, yes, but stainless-steel finishes vary. Use a soft cloth or non-scratch sponge, avoid aggressive scrubbing and follow the manufacturer’s instructions.
Do I need hydrogen peroxide?
No. For everyday grease and grime, baking soda and dish soap are usually the more straightforward starting point. Hydrogen peroxide is an optional addition for certain stains on compatible surfaces.
Can I use stronger hydrogen peroxide?
For this household cleaning method, stick to ordinary 3% household hydrogen peroxide. There’s no reason to use a stronger concentration.
Can I mix hydrogen peroxide with bleach?
No. Never mix household cleaning chemicals unless the product instructions explicitly say it is safe.
Does this paste remove hard-water deposits?
It may improve general grime around water spots, but true mineral scale can require a different, surface-compatible treatment.
🌿 Final Thoughts
A dirty-looking sink isn’t always covered in one type of dirt. Grease, soap residue, water spots and everyday grime can accumulate together, particularly around faucets and drains.
For many compatible surfaces, a small amount of baking soda + dish soap provides a simple approach to routine buildup. Start gently, rinse thoroughly, and finish by drying the surface.
And while 3% hydrogen peroxide can be useful for certain stains, consider it an optional addition rather than the secret ingredient that makes the entire method work.
Sometimes the best cleaning trick is simply knowing which ingredient is doing which job—and when you don’t need to add anything else.