
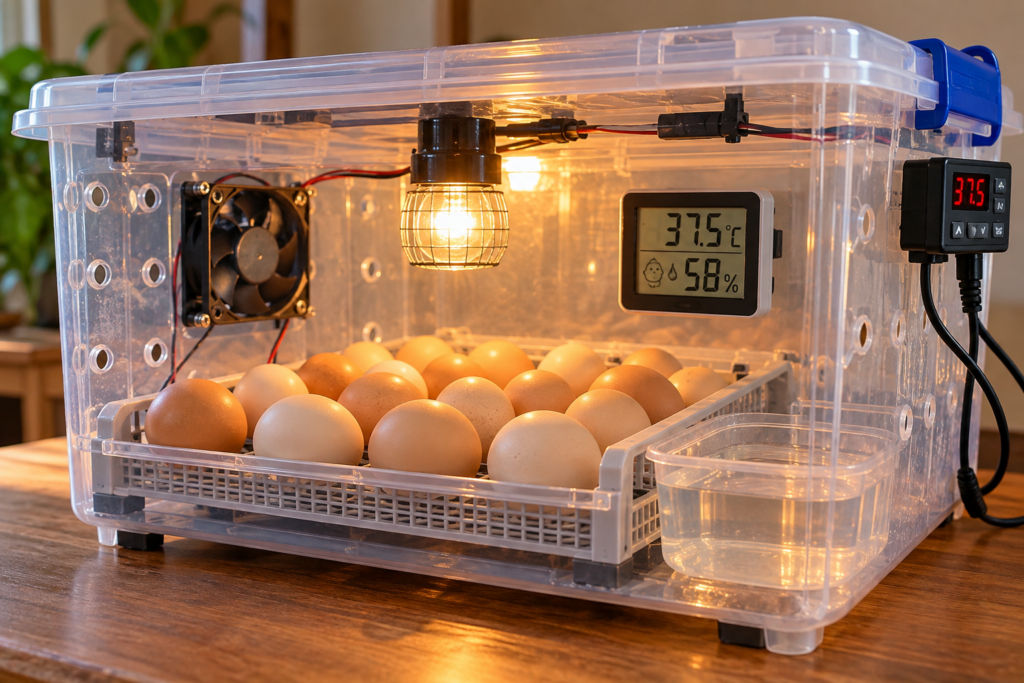
At first glance, the idea seems almost unbelievable: take a large container, add a heat source, place some fertile eggs inside—and around three weeks later, tiny chicks begin to hatch.
But is it really that simple?
Not quite.
A homemade egg incubator can work, but the container itself isn’t the secret. Successful incubation depends on carefully controlling temperature, humidity, ventilation, egg turning, and sanitation. If even one of these factors is badly managed, hatch rates can suffer.
So before turning an old container into an incubator, here’s what you actually need to know.
The key takeaway? Instead of thinking “Put eggs under a light bulb and wait for chicks,” think “Build a small environment that safely reproduces the conditions an embryo needs to develop.”
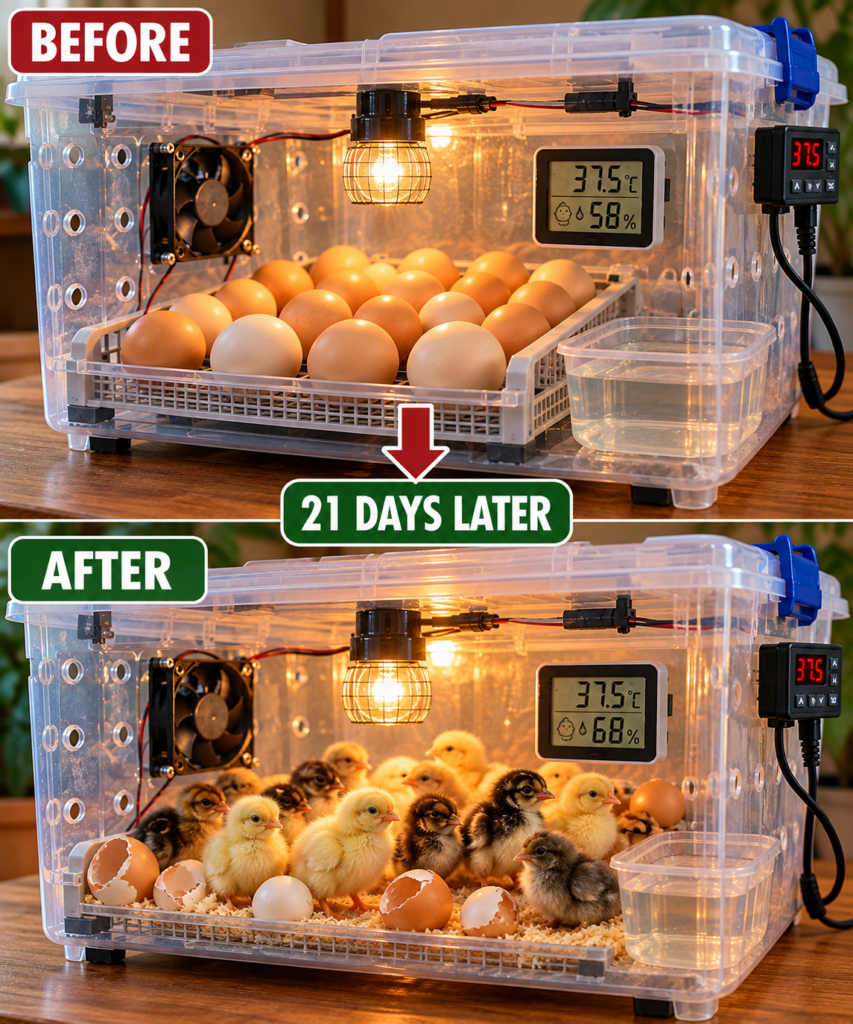
🥚 How Does an Egg Incubator Work?
Under natural conditions, a broody hen provides warmth, turns her eggs regularly, and creates the conditions needed for embryos to develop. An artificial incubator attempts to reproduce those conditions.
For chicken eggs, incubation normally lasts about 21 days. The four major environmental factors are:
- 🌡️ Stable temperature
- 💧 Appropriate humidity
- 💨 Fresh-air ventilation
- 🔄 Regular egg turning
Sanitation is another important consideration. That means simply putting eggs underneath a warm light bulb is not enough.
🛠️ What a Homemade Incubator Needs
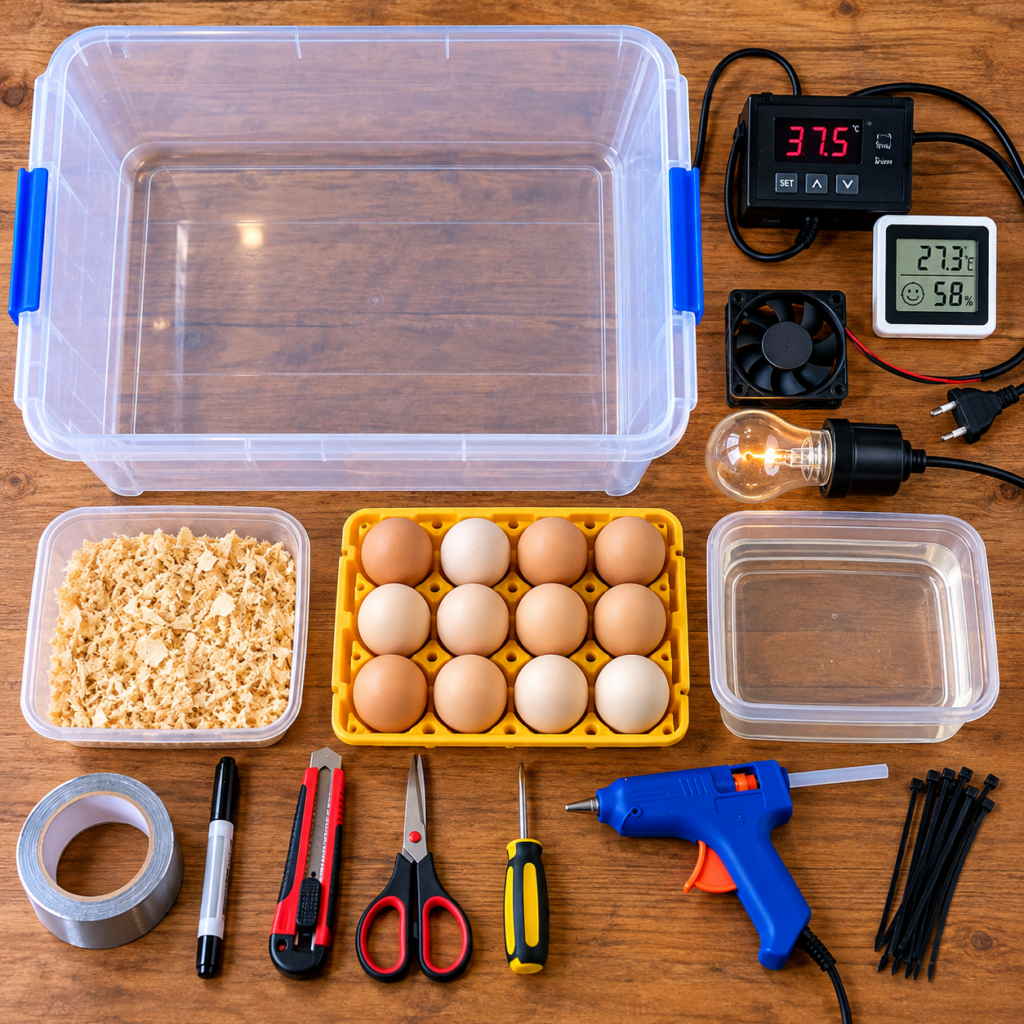
The exact construction can vary, but a functional DIY incubator generally needs:
- 📦 A suitable insulated or heat-resistant enclosure
- 🔌 A controlled heat source
- 🎛️ A thermostat or temperature controller
- 🌡️ An accurate thermometer
- 💧 A hygrometer for monitoring humidity
- 🕳️ Ventilation openings
- 🌊 A water reservoir for humidity
- 🪺 A safe tray or surface for the eggs
- 🔄 A way to turn the eggs
- 🌀 Ideally, a small fan if you’re designing a forced-air incubator
⚠️ Don’t Skip the Thermostat: This is probably the most important difference between a cute internet DIY project and an incubator that can actually maintain appropriate conditions. The heat source should not simply run continuously; a thermostat allows the heat source to cycle as necessary to maintain a much more stable temperature. Prolonged temperatures outside the correct range can ruin a hatch, with excessive heat being particularly dangerous.
🌡️ Step 1: Get the Temperature Right
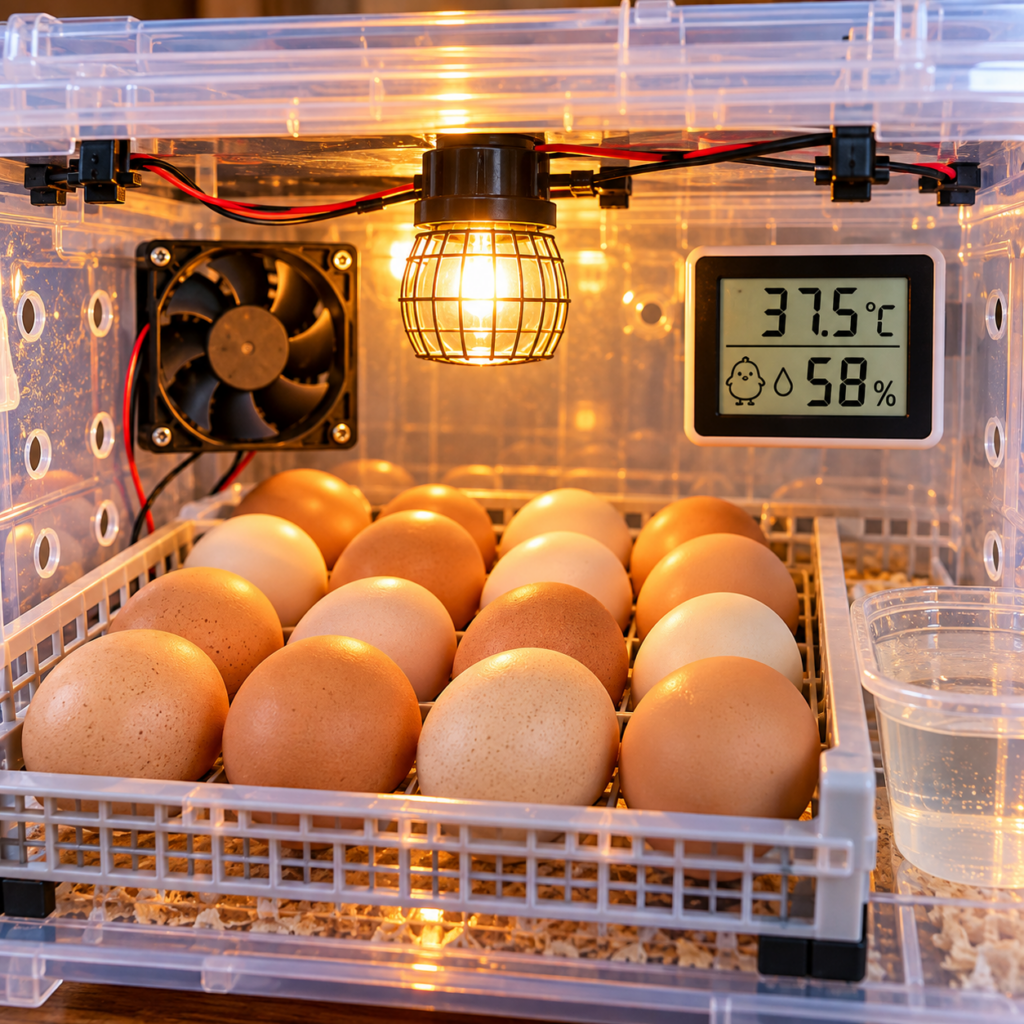
- For a forced-air incubator (with a fan): Maintain approximately 99–100°F / 37.2–37.8°C.
- For a still-air incubator: Warm air naturally rises and creates temperature layers. Mississippi State recommends about 102°F / 38.9°C measured at the top level of the eggs for this type.
🚨 Why Viral Images Can Be Misleading: Some online videos or images show internal temperatures around 30–31°C. Those numbers are far below the recommended operating temperature for continuous chicken-egg incubation and will not result in a successful hatch.
💧 Step 2: Control Humidity
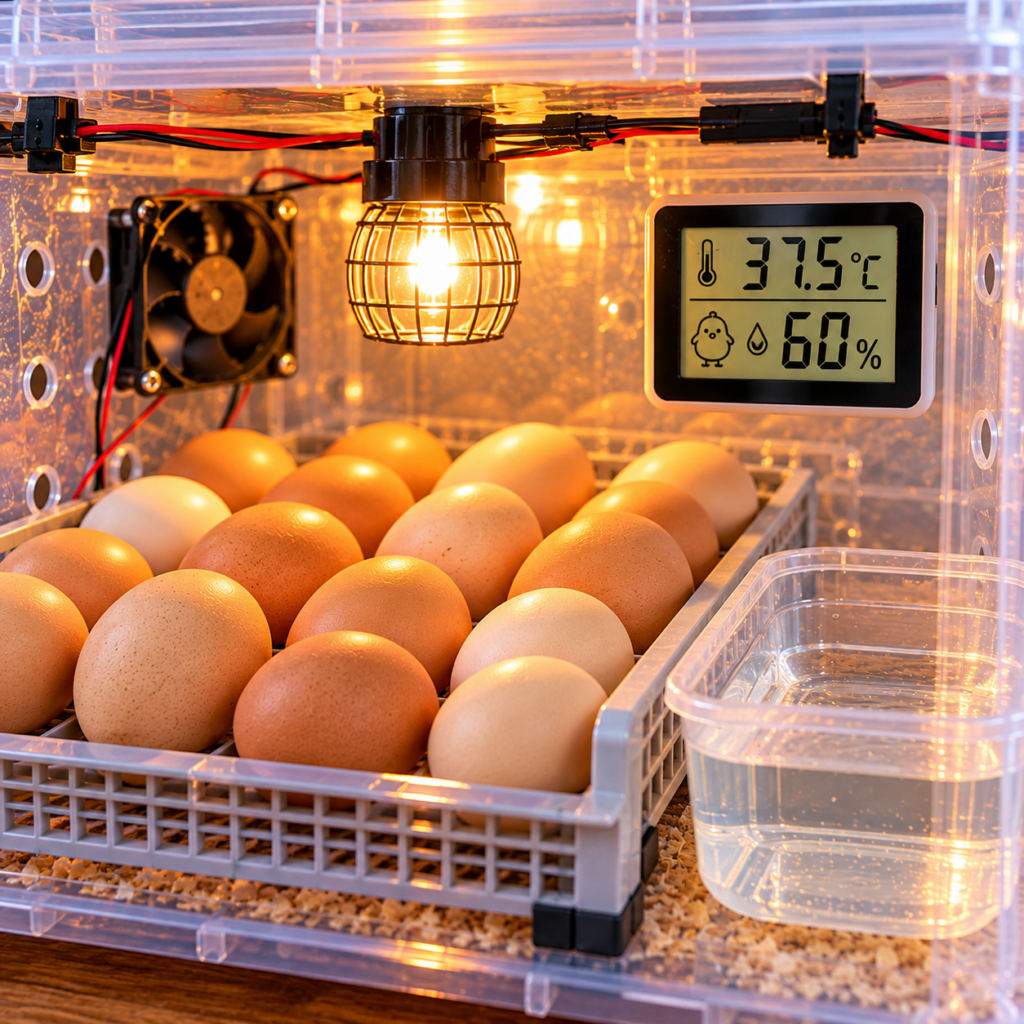
Temperature isn’t the only thing that matters. Eggs naturally lose moisture through their shells as embryos develop, and humidity influences how quickly that happens.
- Maintain approximately 58–60% relative humidity during most of the incubation period.
- Increase to 65% or more during the final three days.
- Place a shallow water reservoir inside the enclosure and always measure humidity with a hygrometer rather than guessing by looking at the water container.
🔄 Step 3: Turn the Eggs Regularly
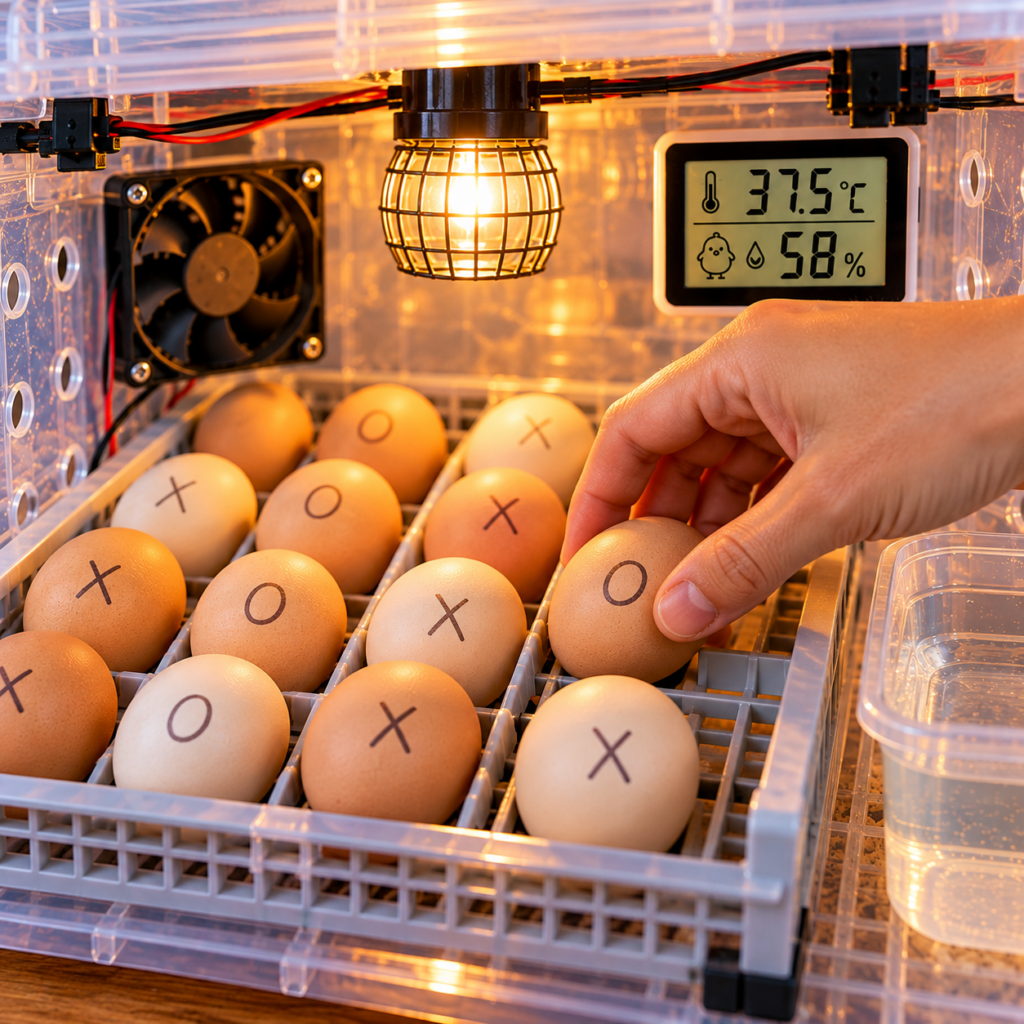
A hen naturally moves her eggs. In an incubator, you’ll need to reproduce this manually or use an automatic egg turner.
- Turn the eggs several times a day, ideally an odd number of times if turning manually.
- Stop turning at approximately day 18 (three days before the expected hatch).
- If turning manually, mark opposite sides of each egg lightly with a pencil (e.g., X and O) to keep track. Always handle eggs gently with clean hands.
💨 Step 4: Don’t Forget Ventilation
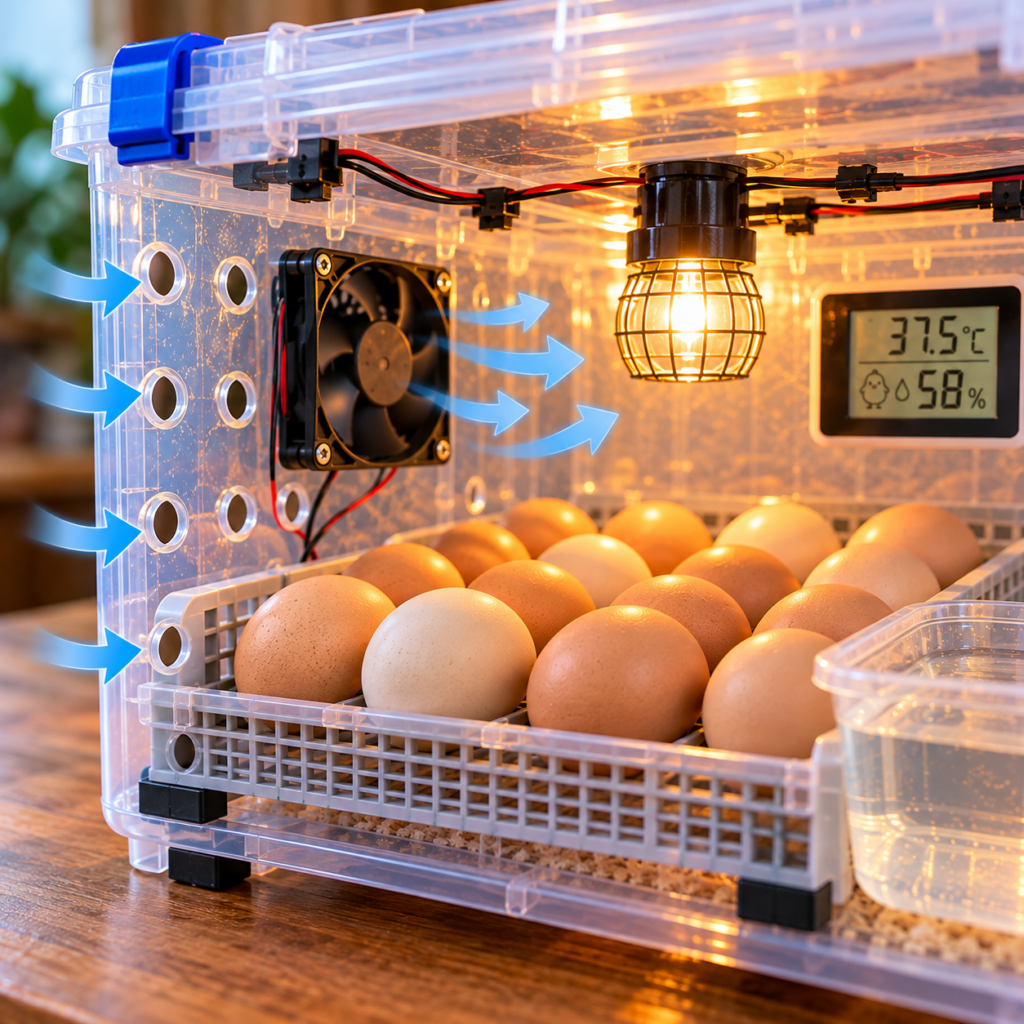
A homemade incubator cannot be a completely sealed plastic box. The developing embryo uses oxygen, while carbon dioxide must escape through the eggshell.
Small ventilation openings allow fresh-air exchange. However, because changing ventilation can also influence temperature and humidity, you must monitor all three parameters simultaneously.
🥚 Step 5: Start With Suitable Fertile Eggs
Most grocery-store eggs will not hatch because they are generally unfertilized. Only fertile eggs are suitable for incubation. They should be:
- Clean
- Normal in shape
- Average in size
- Free from visible cracks
Note: Extension guidelines advise against washing hatching eggs, as it can damage the natural protective bloom on the shell.
🔦 Step 6: Candle the Eggs
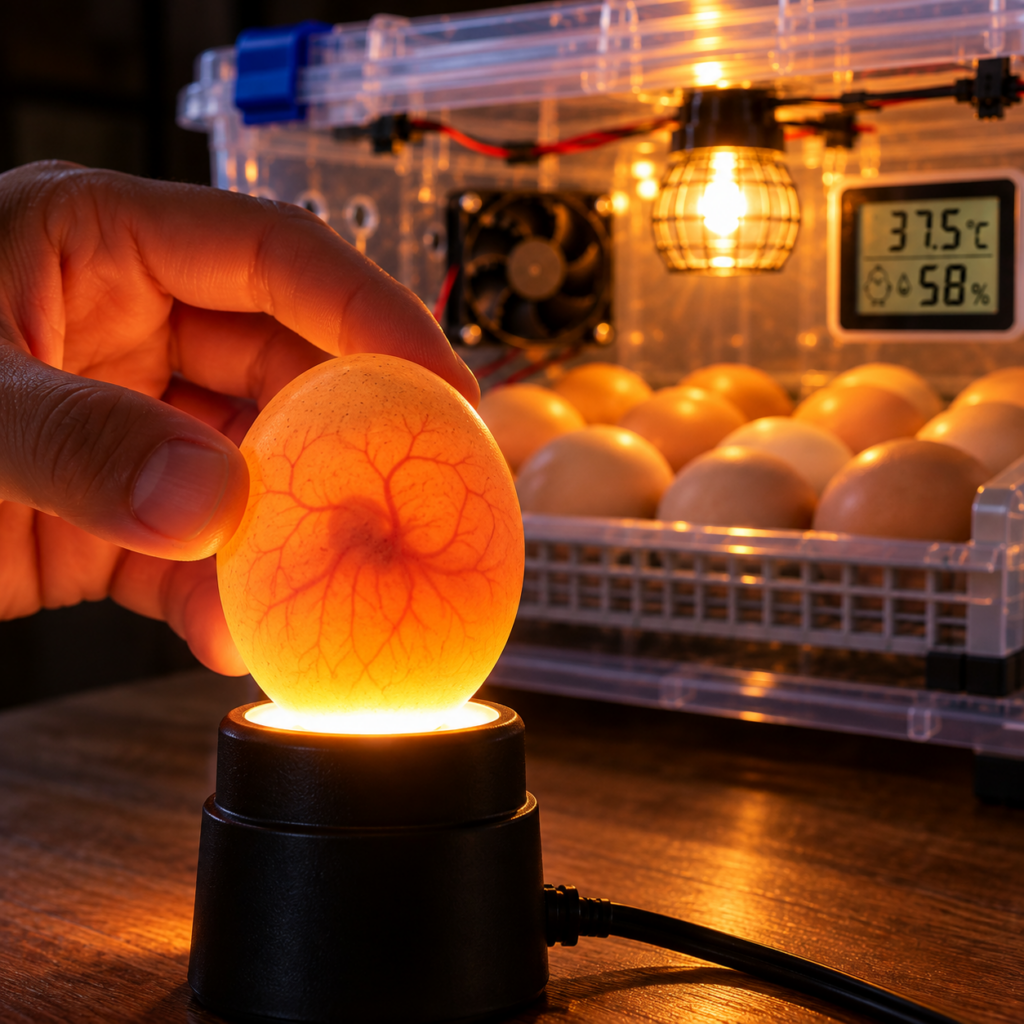
Candling means shining a bright light through the egg in a dark environment so you can observe internal development.
- Candle the eggs after about 10 days to identify infertile eggs and nonviable embryos that have stopped developing.
- Remove clearly nonviable eggs to prevent them from deteriorating inside the incubator.
📅 Step 7: Prepare for “Lockdown” (Day 18)
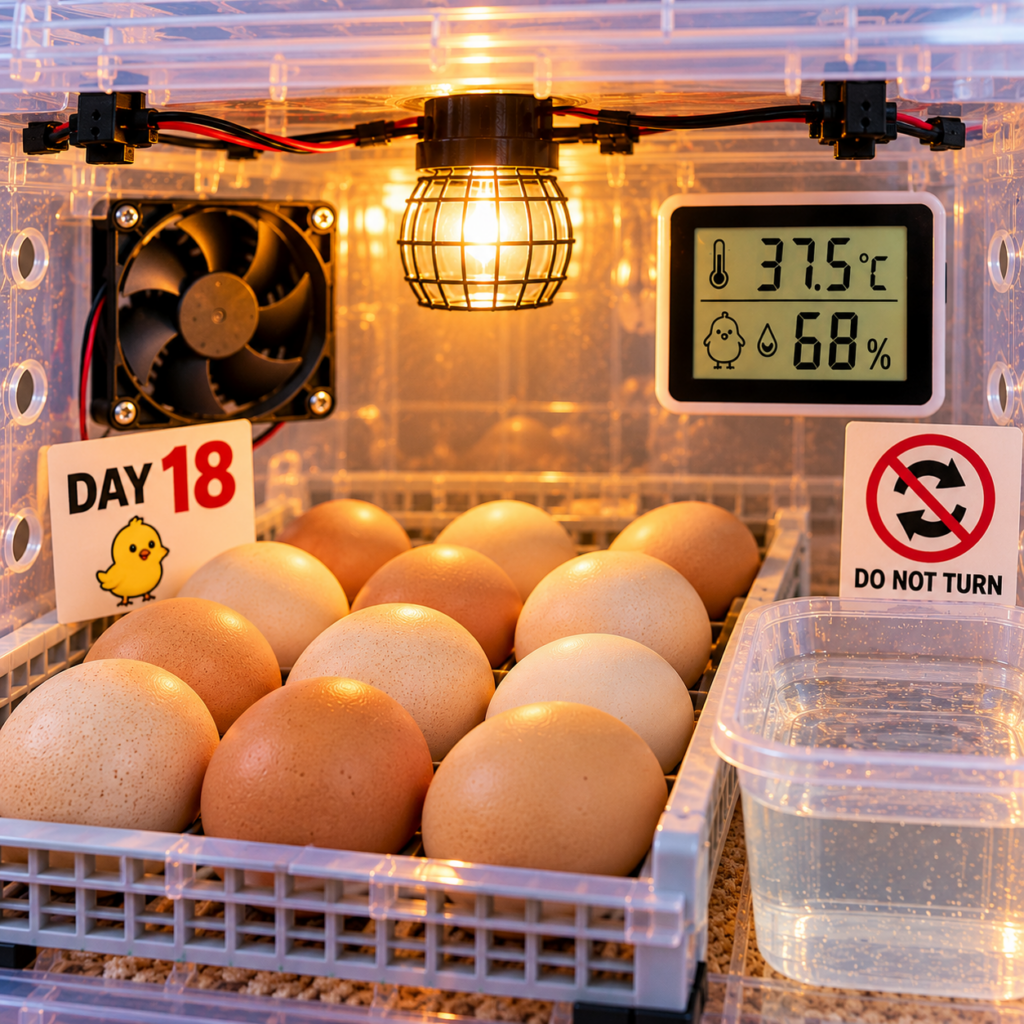
Around day 18, things change:
- Stop turning the eggs so chicks can position themselves for hatching.
- Increase humidity to at least 65%–70% relative humidity.
- Avoid opening the incubator unnecessarily, as doing so quickly disrupts temperature and humidity levels.
🐣 Step 8: The Big Day
Chicken eggs normally hatch at approximately day 21.
- The first visible sign is usually a tiny hole in the shell known as a pip.
- The chick gradually works around the shell before finally emerging.
- Do not assume every chick needs your help. Hatching takes time, and unnecessary human intervention can cause serious complications.
⚠️ 7 Mistakes That Can Ruin a Homemade Incubator
- Using Heat Without Automatic Temperature Control: A lamp continuously producing heat can make the incubator dangerously hot. Use a proper thermostat.
- Trusting Only One Cheap Thermometer: Always verify temperature with a second reliable thermometer at egg level, and run the incubator for at least 24 hours before adding eggs.
- Putting the Incubator in Direct Sunlight: Sunlight dramatically increases internal temperature. Keep it in a stable indoor environment.
- Forgetting Humidity: Correct temperature alone isn’t enough; monitor humidity closely.
- Sealing the Container Completely: Embryos need oxygen and ventilation.
- Forgetting to Turn the Eggs: Regular turning is vital for days 1–17. Stop on day 18.
- Assuming Every Egg Will Hatch: Fertility, egg quality, storage, and genetics all influence final hatch rates.
📋 A Simple 21-Day Chicken Egg Timeline
- Days 1–17: Maintain proper temperature and humidity, provide ventilation, and turn eggs 5–6 times daily.
- Around Day 10: Candle the eggs to check for development and remove infertile ones.
- Day 18 (Lockdown): Stop turning. Increase humidity and ensure proper ventilation.
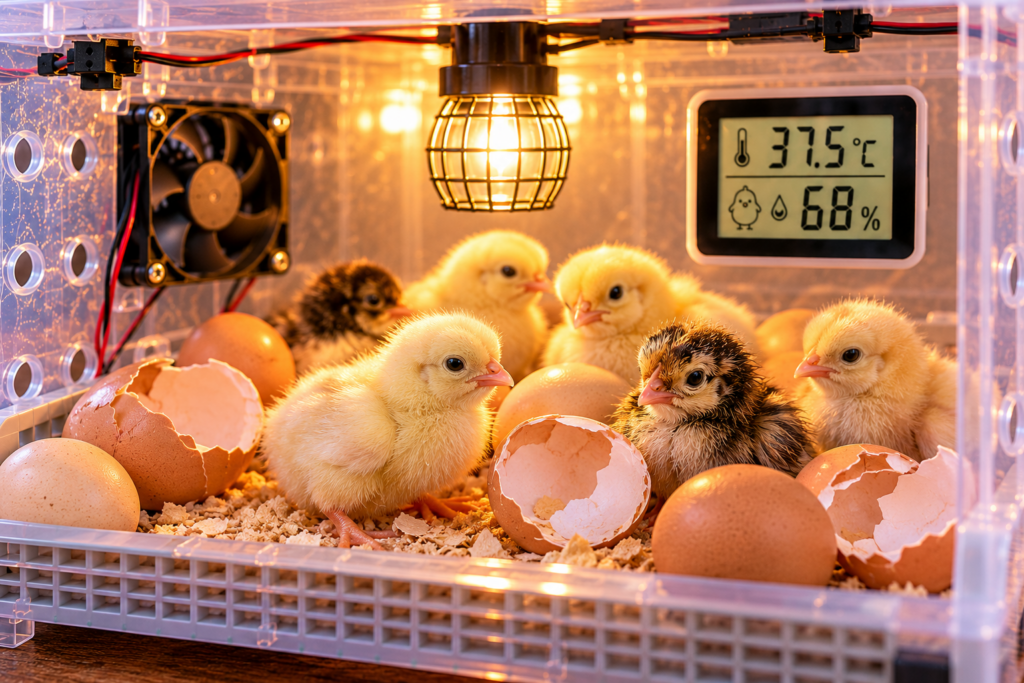
- Days 19–20: Chicks position themselves for hatching; some may begin the pipping process as hatch time approaches.
- Around Day 21: Hatching occurs!
🐥 What Happens After Hatching?
The project doesn’t end when the chick emerges. Before incubating eggs, you should already have everything needed for the hatched chicks in place: a safe brooding environment, warmth, clean water, suitable chick feed, and adequate space. Never begin incubation unless you are fully prepared for the live animals that may result.
❓ Frequently Asked Questions
- Can you really hatch chicken eggs in a homemade incubator?Yes, provided the setup can reliably control temperature, humidity, ventilation, and turning.
- Can I just use a light bulb?A bulb can provide heat, but uncontrolled heat is risky. A thermostatically controlled heat source is strongly recommended for maintaining a stable incubation temperature.
- How long do chicken eggs take to hatch?Approximately 21 days.
- What temperature should chicken eggs be incubated at?Roughly 99–100°F / 37.2–37.8°C for forced-air incubators (still-air incubators require higher calibration).
- When should I stop turning chicken eggs?Around day 18.
- Can I hang it outside or place it anywhere?No, keep it indoors away from drafts and direct sunlight to maintain stable ambient conditions.
✨ Final Thoughts
Turning a simple container into a homemade egg incubator is a fascinating project—but the container isn’t what makes the eggs hatch.
The success formula is straightforward:
Temperature → Humidity → Ventilation → Turning → Sanitation
So yes, the viral idea has a genuine scientific principle behind it, but treating it with proper engineering and preparation is the difference between a clever DIY project and a successful hatch.