
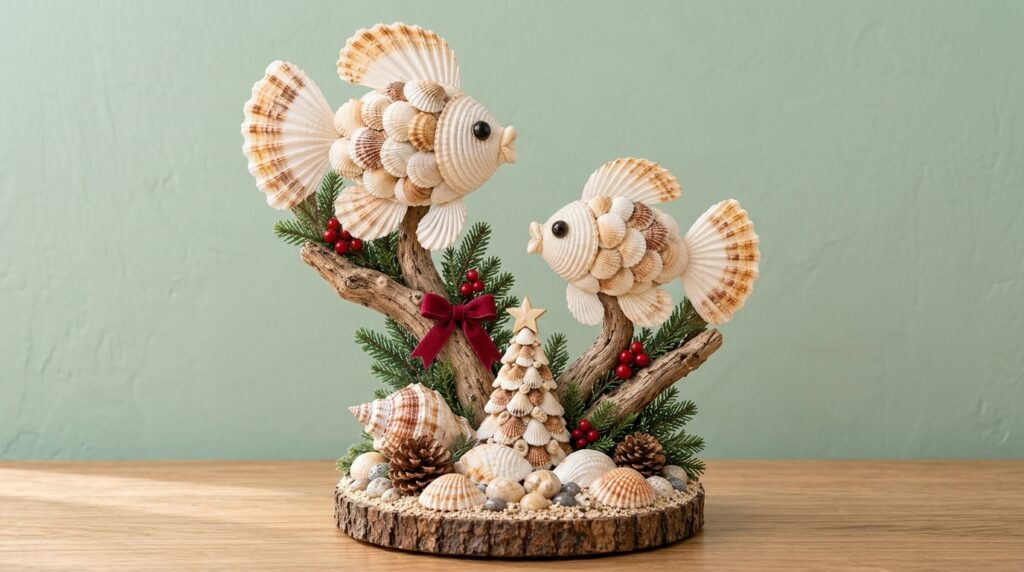
Looking to add a unique, coastal twist to your holiday decor or create a stunning beach-themed centerpiece for your home? This handcrafted Seashell Fish & Christmas Tree Display combines rustic natural elements like driftwood, pinecones, and seashells with subtle festive touches like evergreen sprigs and red berries.
Whether you love coastal living or want to create a memorable handmade gift, this detailed step-by-step tutorial will guide you through making this eye-catching centerpiece.
🪵 Materials Needed
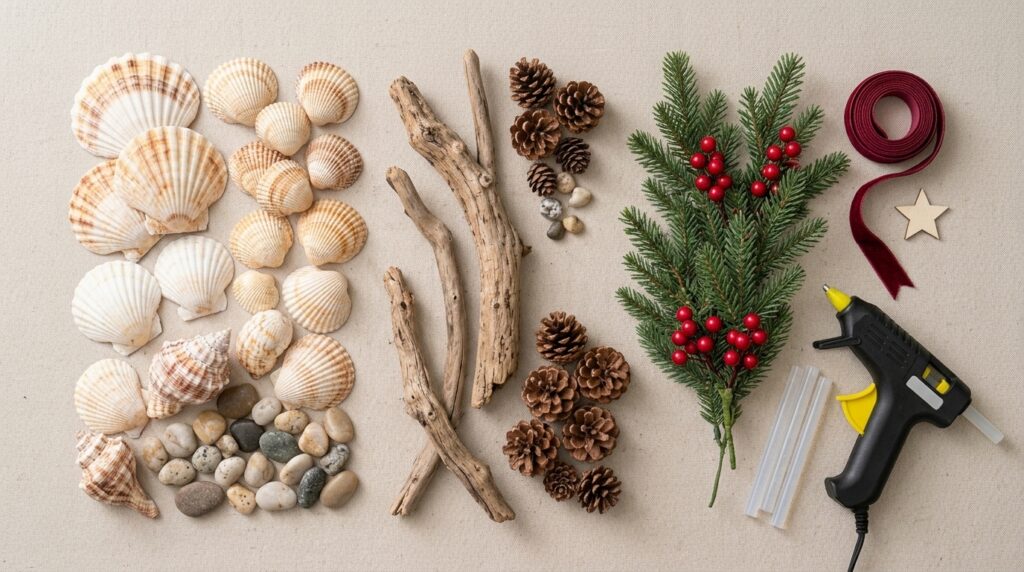
Before starting, gather the following supplies:
- Wooden Slice Base: A natural wooden slice (approx. 25–30 cm / 10–12 inches in diameter).
- Driftwood Branches: 2 curved, sturdy pieces of driftwood to elevate the fish figures.
- Seashells:
- Pecten / Scallop Shells: Medium and small sizes for tail fins, dorsal fins, and body scales.
- Cockle Shells: Uniform small shells for overlapping fish scales and the shell Christmas tree.
- Conch / Whelk Shell: 1 large decorative accent shell for the base.
- Smooth Pebble Shells & Stones: Assorted small beach pebbles to fill the base.
- Decorative Accents:
- Pine Sprigs: Artificial or fresh evergreen fir branch tips.
- Pinecones: Small natural pinecones.
- Red Berries: Faux holly berries on wire stems.
- Velvet Ribbon: A small dark red bow.
- Wooden Star: 1 small wooden star topper for the shell tree.
- Black Craft Beads/Buttons: 2 glossy black beads for fish eyes.
- Adhesives & Tools:
- Hot glue gun and high-tack glue sticks.
- Styrofoam cone or thick cardstock cone (for the mini Christmas tree core).
- Sand / Fine crushed shell substrate.
- Clear acrylic craft sealer spray (optional, for shine).
🛠️ Step-by-Step Crafting Instructions
Step 1: Prepare the Wooden Base & Substrate
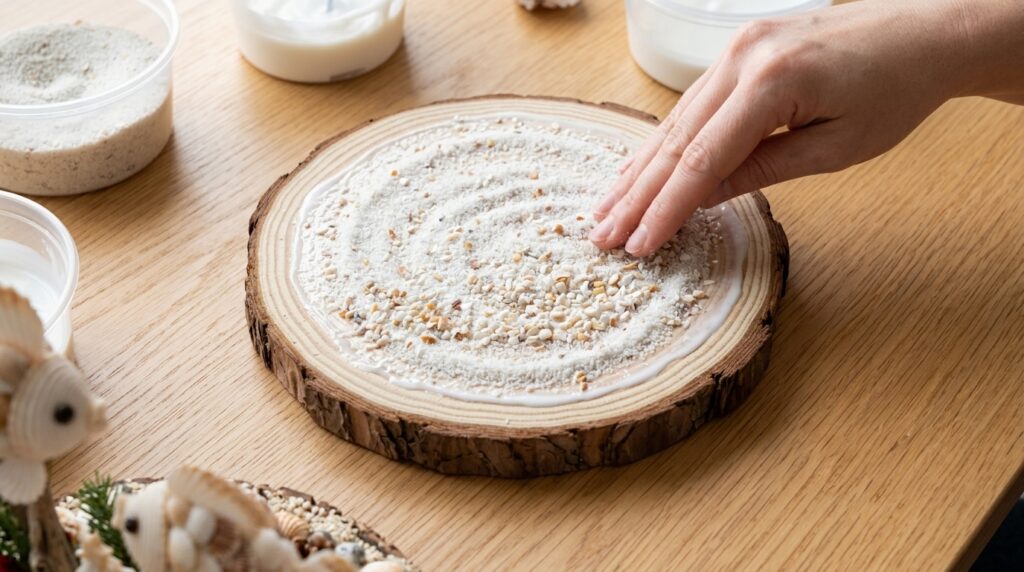
- Clean and dry your wooden slice base thoroughly.
- Apply a generous layer of craft glue or hot glue across the central area of the wooden slice.
- Sprinkle fine white sand and tiny crushed shell fragments across the glue to create a textured “beach seabed” effect. Allow it to set completely.
Step 2: Install the Driftwood Support Structure
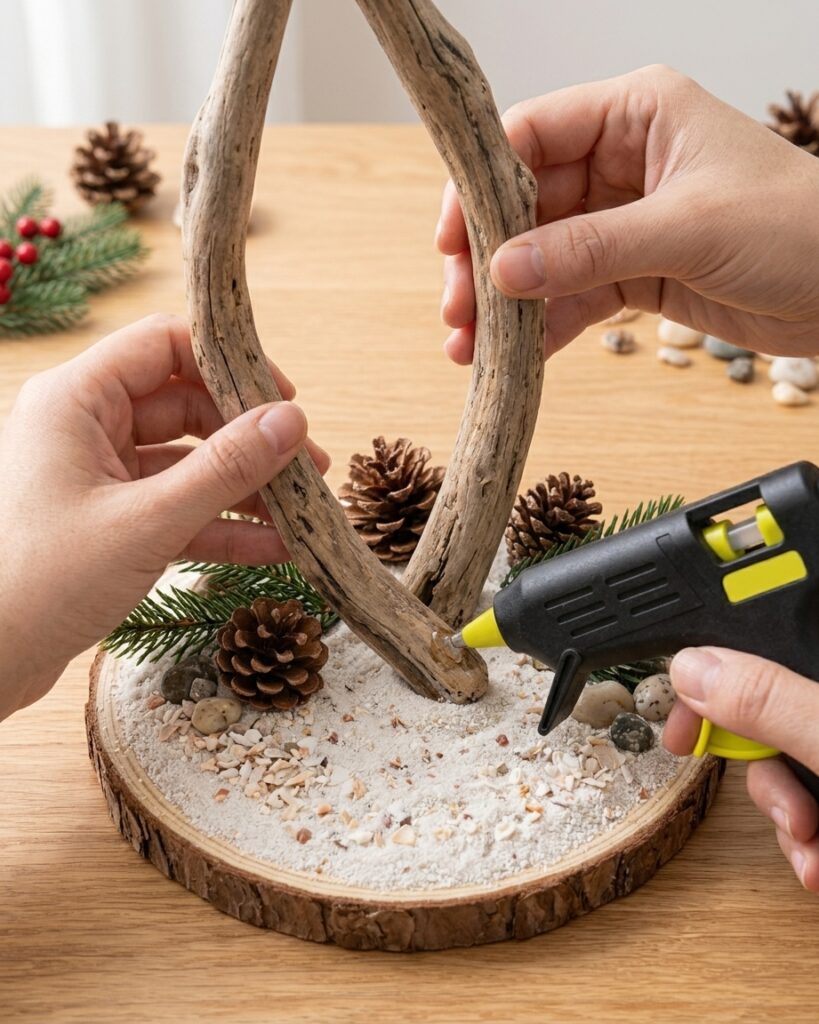
- Choose two curved pieces of driftwood that branch upward gracefully.
- Securely anchor the bottom ends of the driftwood pieces onto the wooden slice using hot glue (or wood screws from the underside of the slice for extra structural stability).
- Ensure the structure is sturdy enough to hold the weight of the shell fish.
Step 3: Build the Seashell Fish
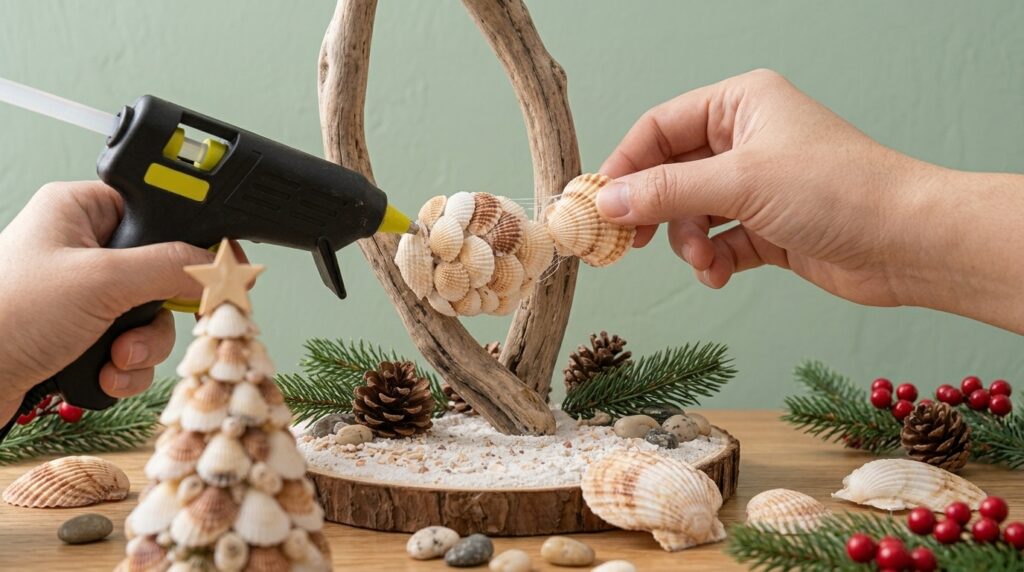
- Form the Body Core: Use a small oval styrofoam shape or thick cardstock oval as the inner core for each fish.
- Layer the Scales: Starting from the tail end working forward toward the head, hot glue overlapping small cockle shells to create a natural, layered scale pattern.
- Attach Fins & Tail:
- Glue large fan-shaped scallop shells at the back for wide, dramatic tail fins.
- Attach medium fan shells along the top and bottom to form the dorsal and pelvic fins.
- Form the Face & Eyes: Smooth smaller white shells around the face area. Glue a glossy black bead or button on each side for eyes, and attach two tiny curved shells at the front to form kissing lips.
- Mount the Fish: Securely glue each fish to the top ends of the vertical driftwood branches at varying heights for a dynamic, swimming appearance.
Step 4: Craft the Mini Seashell Christmas Tree
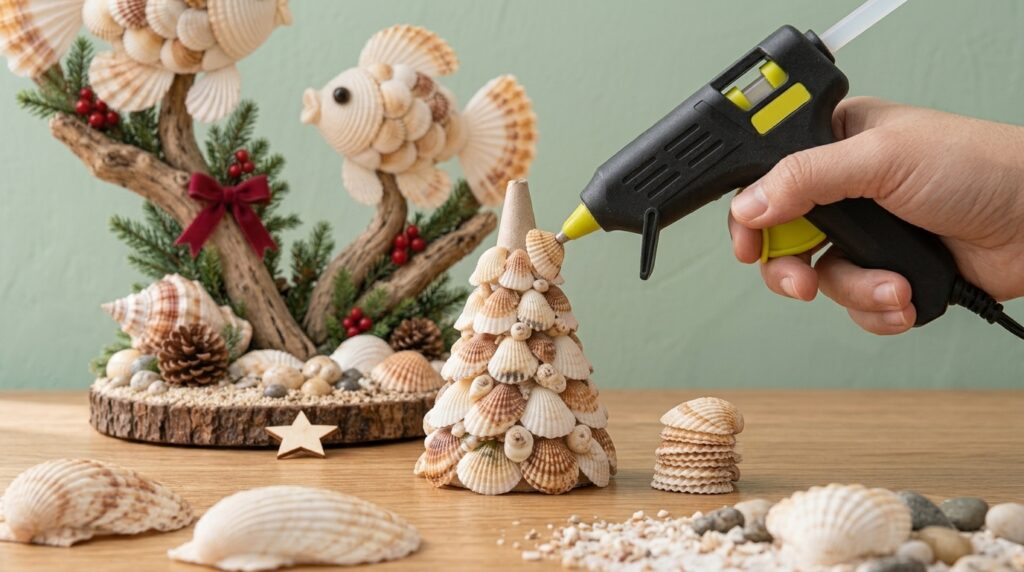
- Take a small cone core (made of cardstock or styrofoam, approx. 12–15 cm tall).
- Starting from the bottom row and working upward, hot glue rows of small, uniform cockle shells with their flared edges pointing downward.
- Glue a small wooden star cutout to the top peak of the shell tree.
- Glue the completed tree firmly onto the front center of the wooden base.
Step 5: Arrange Base Decorations & Festive Accents
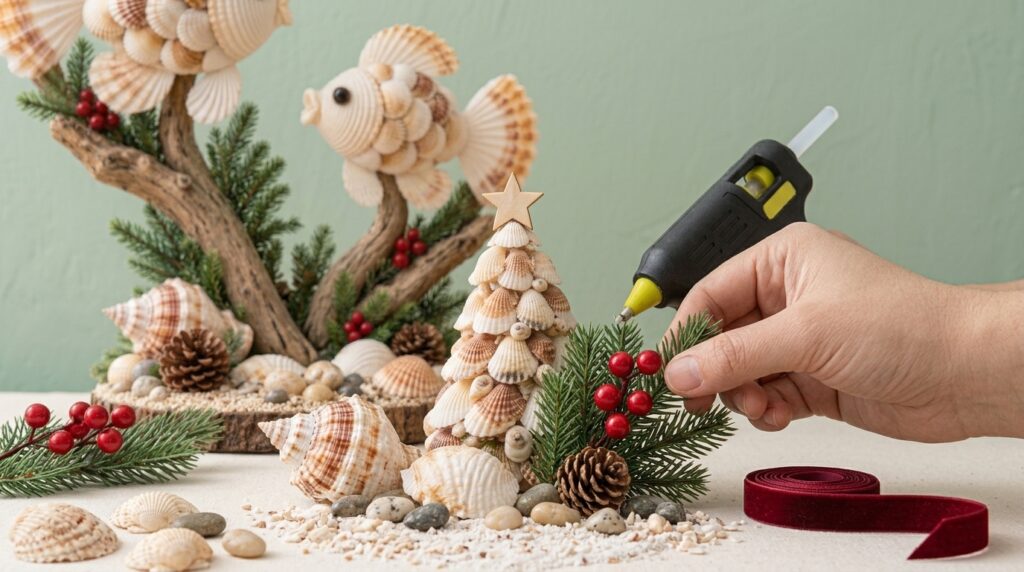
- Base Shells & Pinecones: Glue a prominent conch shell on the left side, surrounded by small pinecones and smooth beach stones near the front edge.
- Evergreen & Berry Accents: Tuck small fir/pine sprigs between the driftwood branches and behind the shell tree. Intermix clusters of bright red faux berries for a pop of holiday color.
- Red Ribbon: Tie a small dark red velvet bow near the central branch intersection beneath the fish.
💡 Pro Tips for Best Results
- Shell Selection: Wash shells in warm water with mild dish soap and allow them to air-dry before gluing. This ensures hot glue adheres firmly without lifting.
- Glue Neatness: Use a hair dryer on low heat to quickly melt away fine hot glue strings after assembly.
- Glossy Finish: Spray the completed fish and shell tree with a light coat of clear acrylic gloss sealer to give the shells a freshly washed, luminous sheen.
❓ Frequently Asked Questions (FAQ)
1. Where can I find materials for this project?
Driftwood, pinecones, and seashells can be collected along coastal beaches or purchased online from craft suppliers and floral decoration stores.
2. Is this centerpiece suitable for outdoor use?
While it can be placed on a covered patio, it is best suited for indoor display. High humidity or direct rainfall can degrade hot glue bonds and natural wood over time.
3. Can I customize this for year-round decor?
Yes! Simply omit the red berries, velvet bow, and pine branches, and replace them with dried sea lavender, air plants, or neutral drift elements for an all-season coastal decor piece.
4. How long does this project take to make?
On average, this project takes approximately 1.5 to 2 hours to assemble from start to finish once all materials are prepped.